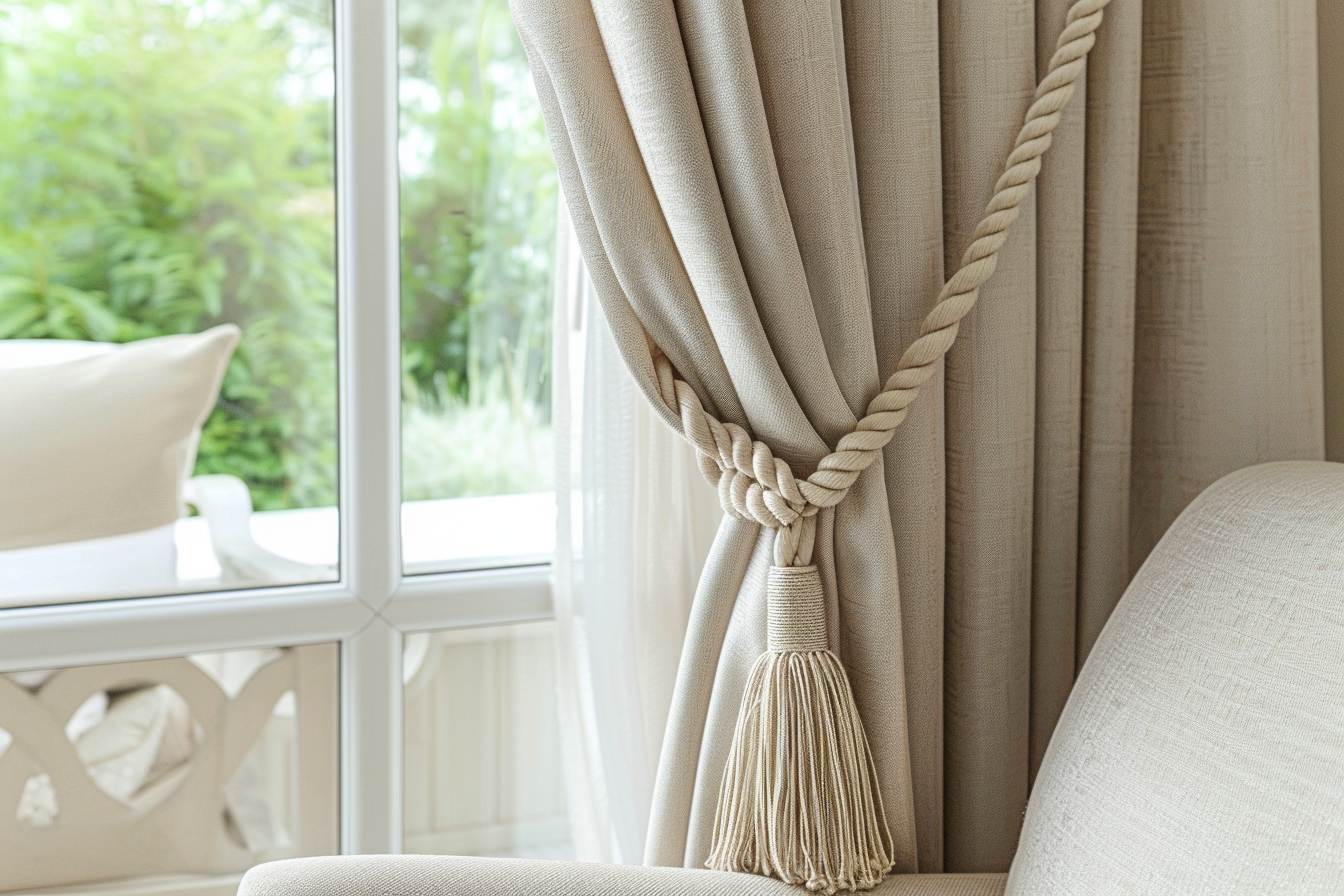
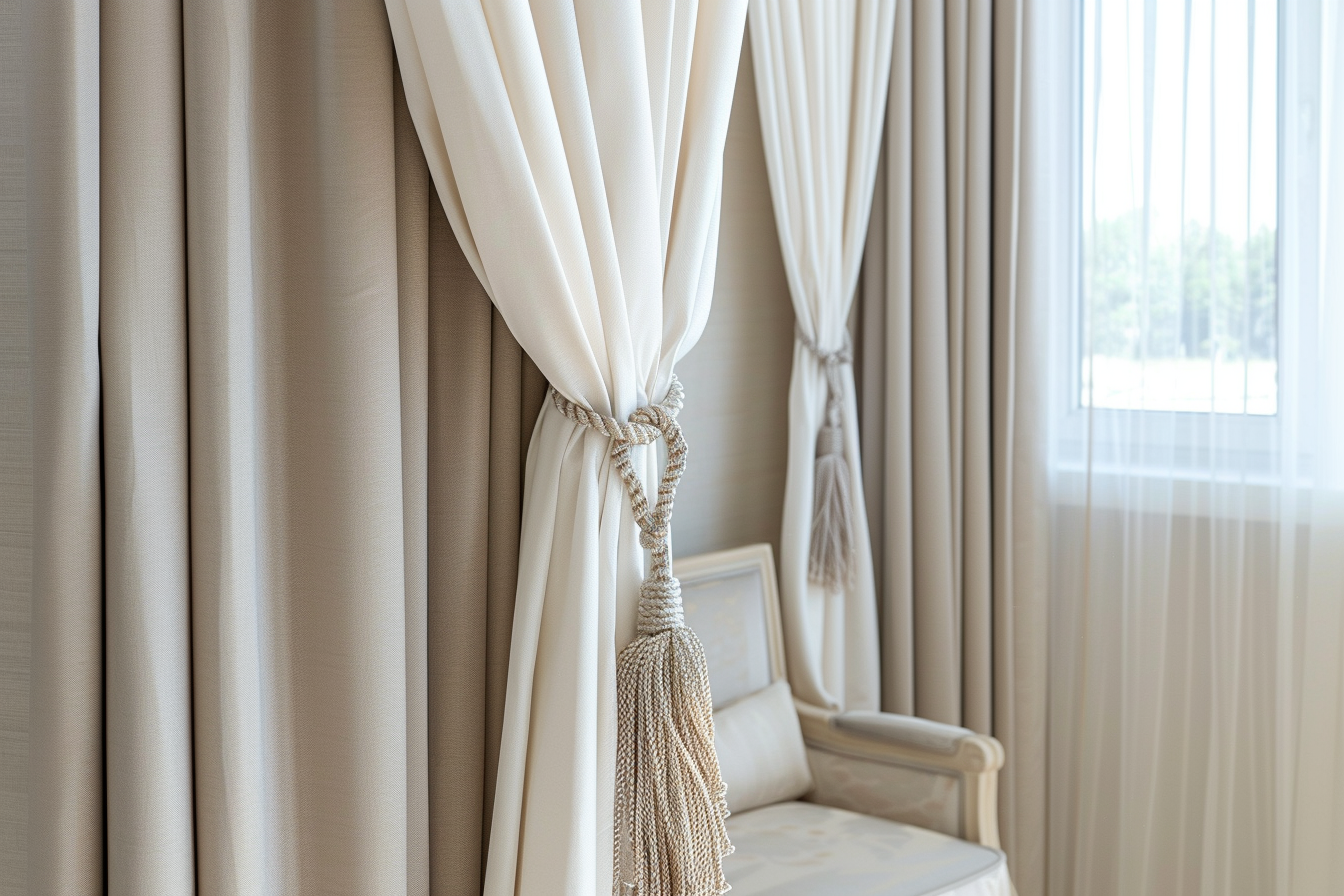
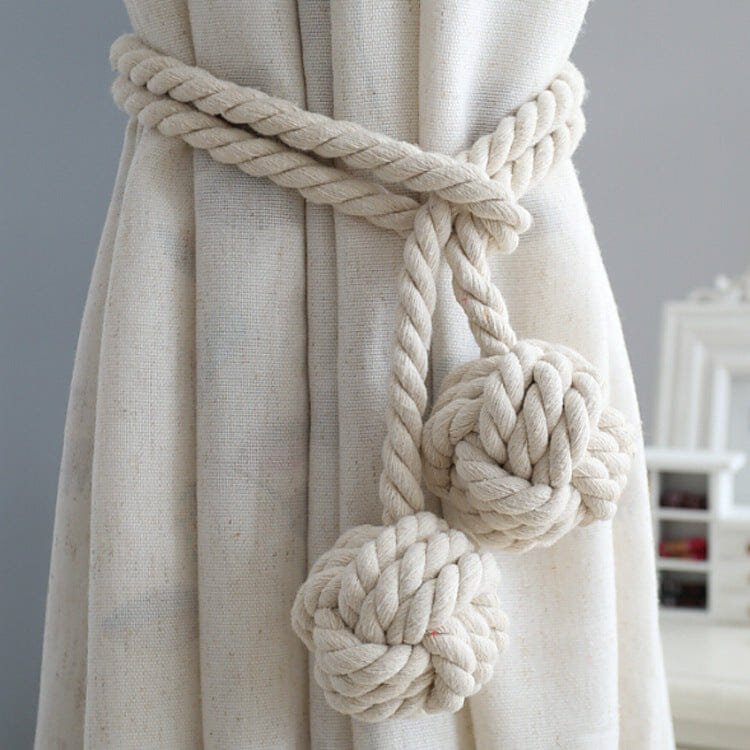
Holdbacks are the small and decorative hardware that get hung from the ends of your curtain rods. Their primary purpose is to hold your curtains away from or towards the window or any other obstruction. But they serve as a functional piece of décor that give your windows and doors an elegant look. Add one to see how adding holdbacks can make your interior all the more complete.
Curtain holdbacks add a touch of class, assisting your window treatments and giving them the finishing touch. Installing curtain holdbacks isn’t rocket science, but it’s definitely a bit more complicated than pinning on a curtain tie back or simple clip-on device. So here it is, everything you need to know about installing proper placement curtain holdbacks.
Step 1: Get The Measurement
First, measure the height of your curtain rod. This will tell you how long to cut your curtain holdback. They usually come in lengths from 6 inches to 12 inches, but you can always cut them down if you need to.
Next, measure the width of your curtains or drapes at their widest points. If they aren’t already hemmed on both sides, fold them over and pin them together so that there is an even amount of fabric on either side of the curtain rod when it is hung up—this way, your curtain holdback will hang evenly on both sides of your window frame when finished.
Then measure how far down from the top edge of the curtain rod to place your first screw hole for each holdback by holding that side up against it while marking with a pencil where they should go (you’ll want two holes per holdback). Use a drill bit that’s just slightly bigger than your screws so they don’t fall through into any wall cavity behind there.
Step 2: Determine The Look You Want For Your Window Treatments
If you’re ready to install curtain holdbacks, the first thing you’ll want to do is figure out what look you’re going for.
Are you going for something simple and classic? Or are you looking for something with a little bit more personality? Maybe you want something that matches the existing décor in your home. Whatever it is, make sure that this is the main idea behind your curtain holdback installation; otherwise, it could end up looking like a mistake or an afterthought.
You’ll also need to think about how many holdbacks will be needed per window treatment. This depends on the size of your windows and how much fabric is hanging from them already (or if they’re already hung). You don’t want too much fabric hanging down on either side of the window. It should be just enough so that when someone looks out at night, they can see their own reflection in it!
Once you’ve got these two things sorted out, then all that’s left is installing those curtain holdbacks!
Step 3: Set Aside The Drapes
If you want to install curtain holdbacks, you’ll need to get the drapes out of the way first. Remove them from their rods and place them on a flat surface, such as a bed or table. Then, lay them out so that they’re straight and smooth. If they have any wrinkles in them, use a steamer to remove them. You may also want to iron the drapes if they’re wrinkled or creased.
How to install tie backs
Once you’ve got an area cleared out, it’s time to get started on installing your curtain holdbacks. If there are pre-drilled holes (like on the back of a wood curtain rod), just put the screws through those holes and tighten with a screwdriver or wrench. If not, use the drill bit included with your kit to drill starter holes and then put the screws through those holes and tighten them with a screwdriver or wrench as well.
Step 4: Mark The Location For Your Holdbacks
Installing curtain holdbacks is a simple process that requires just a few tools and materials. The first thing you’ll want to do is mark the location of your holdback. To do this, measure the distance from the top of your curtain rod to the point on the wall where you want your holdback to be installed. Then, mark this distance with a pencil on all four sides of your rod.
Next, measure the width of your curtain rod and divide this measurement by two. Mark this distance with a pencil on all four sides of your rod as well. Finally, mark these measurements at an angle with a protractor so that they form a perfect square around each side of the curtain rod.
Once you’ve marked all four sides and drawn in all eight corners of your square, use a pencil or marker and ruler to draw straight lines connecting all eight corners together so that they form a perfect rectangle around each side of each corner on each side of each corner (you get it). This will ensure that when you install your holdback hardware later on it will line up perfectly with those marks so you can easily install it without having to reposition any screws or bolts or drill any new holes into either side surfaces.
Step 5: Install The Hooks
After marking the location for your holdbacks, it’s time to install the hooks. Most holdbacks will have an area in which you can cut a hole for the hook. If you’re using a hook that doesn’t come with one, you’ll have to drill one by hand. Check with your local hardware store for help if you need it.
If you’ve purchased a hook that came with an adhesive backing, apply this to the back of the hook and press firmly into place.
If you’re using a hook that doesn’t have an adhesive backing, screw it into place tightly.
Step 6: Hook The Holdback To The Anchor
After installing hooks, it’s time to Hook The Holdback To The Anchor. The holdback comes with a hook that you’ll need to insert into the anchor. This is the part of the rod that will come in contact with your wall and hold the curtain in place.
To do this, insert one end of the hook into the opening on the back side of your curtain rod. Then turn it over so that it’s facing down and slide it into place between two holes on your curtain rod. Make sure that you’re sliding it all the way through until it clicks into place! Then repeat this process for the other side of your curtain rod.
Step 7: Place The Rod And The Curtains Back In Place
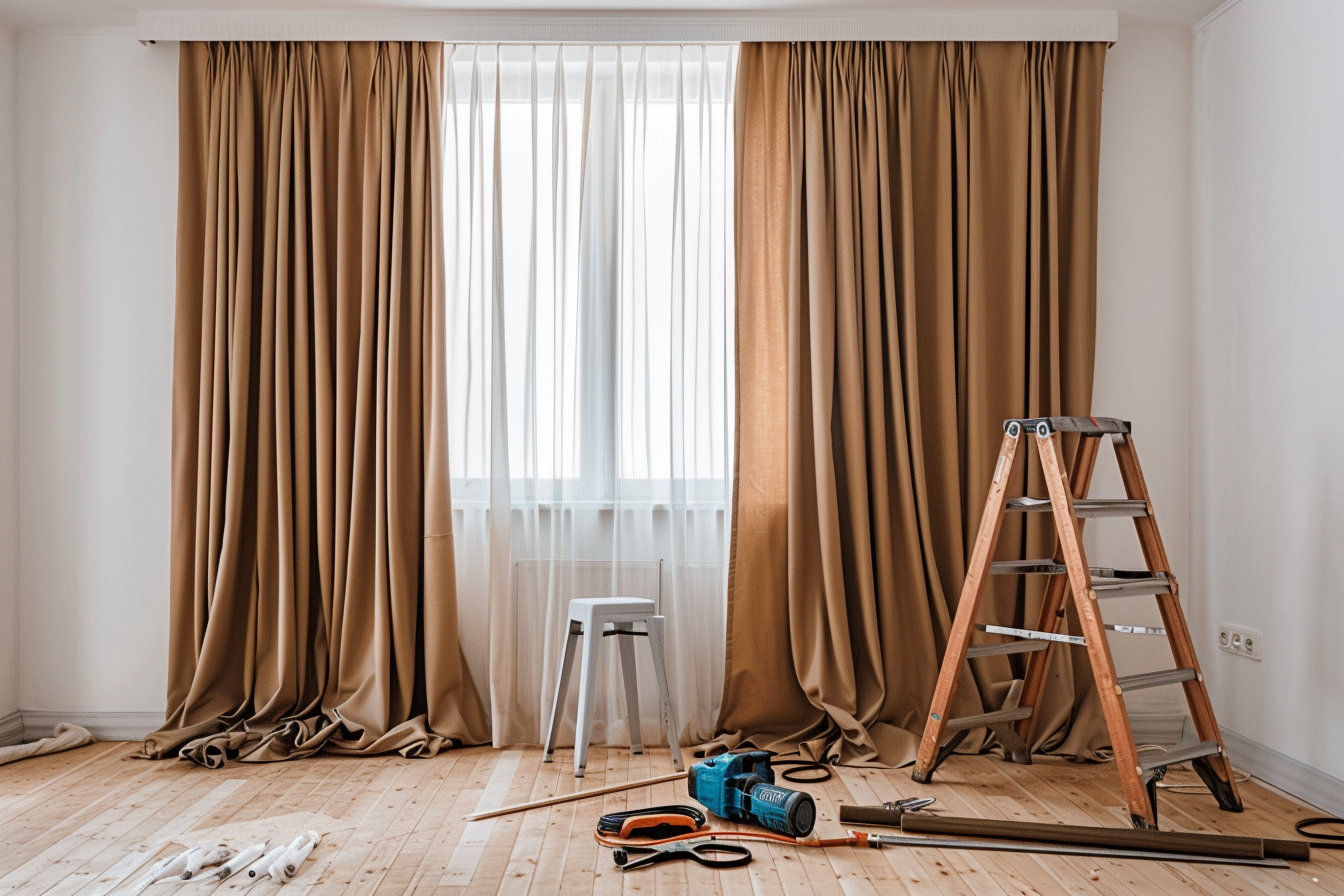
Once you have attached all four curtain holdbacks to the anchors at the top of each window, it’s time to put everything back together! Slide each curtain rod into place and tighten it with an Allen wrench until it’s nice and snug against its anchor plate. Once that’s done, simply hang your curtains from their new curtain holdback brackets and voila! Your curtains will now stay open for as long as you want them too!
In addition to having a guide on how to install Curtain Holdbacks, we also provide a guide on how to hang curtain rods. From selecting the right rod size and type to measuring and marking accurately, our blog equips you with the knowledge and confidence to install curtain rods with ease.






 Loyalty Plan


