

Emergency space blankets can be repurposed into high-performance thermal curtains. While regular fabric slows heat loss through thickness and trapped air, Mylar reflects up to 90% of radiant energy. For a fraction of the cost of custom window treatments, you can build a heat-rejecting barrier.
However, this powerful insulation comes with risks, specifically for modern windows, that most DIY guides ignore.
Who should (and shouldn't) try this
Before going further, be honest about whether this project fits your situation.
Good candidates:
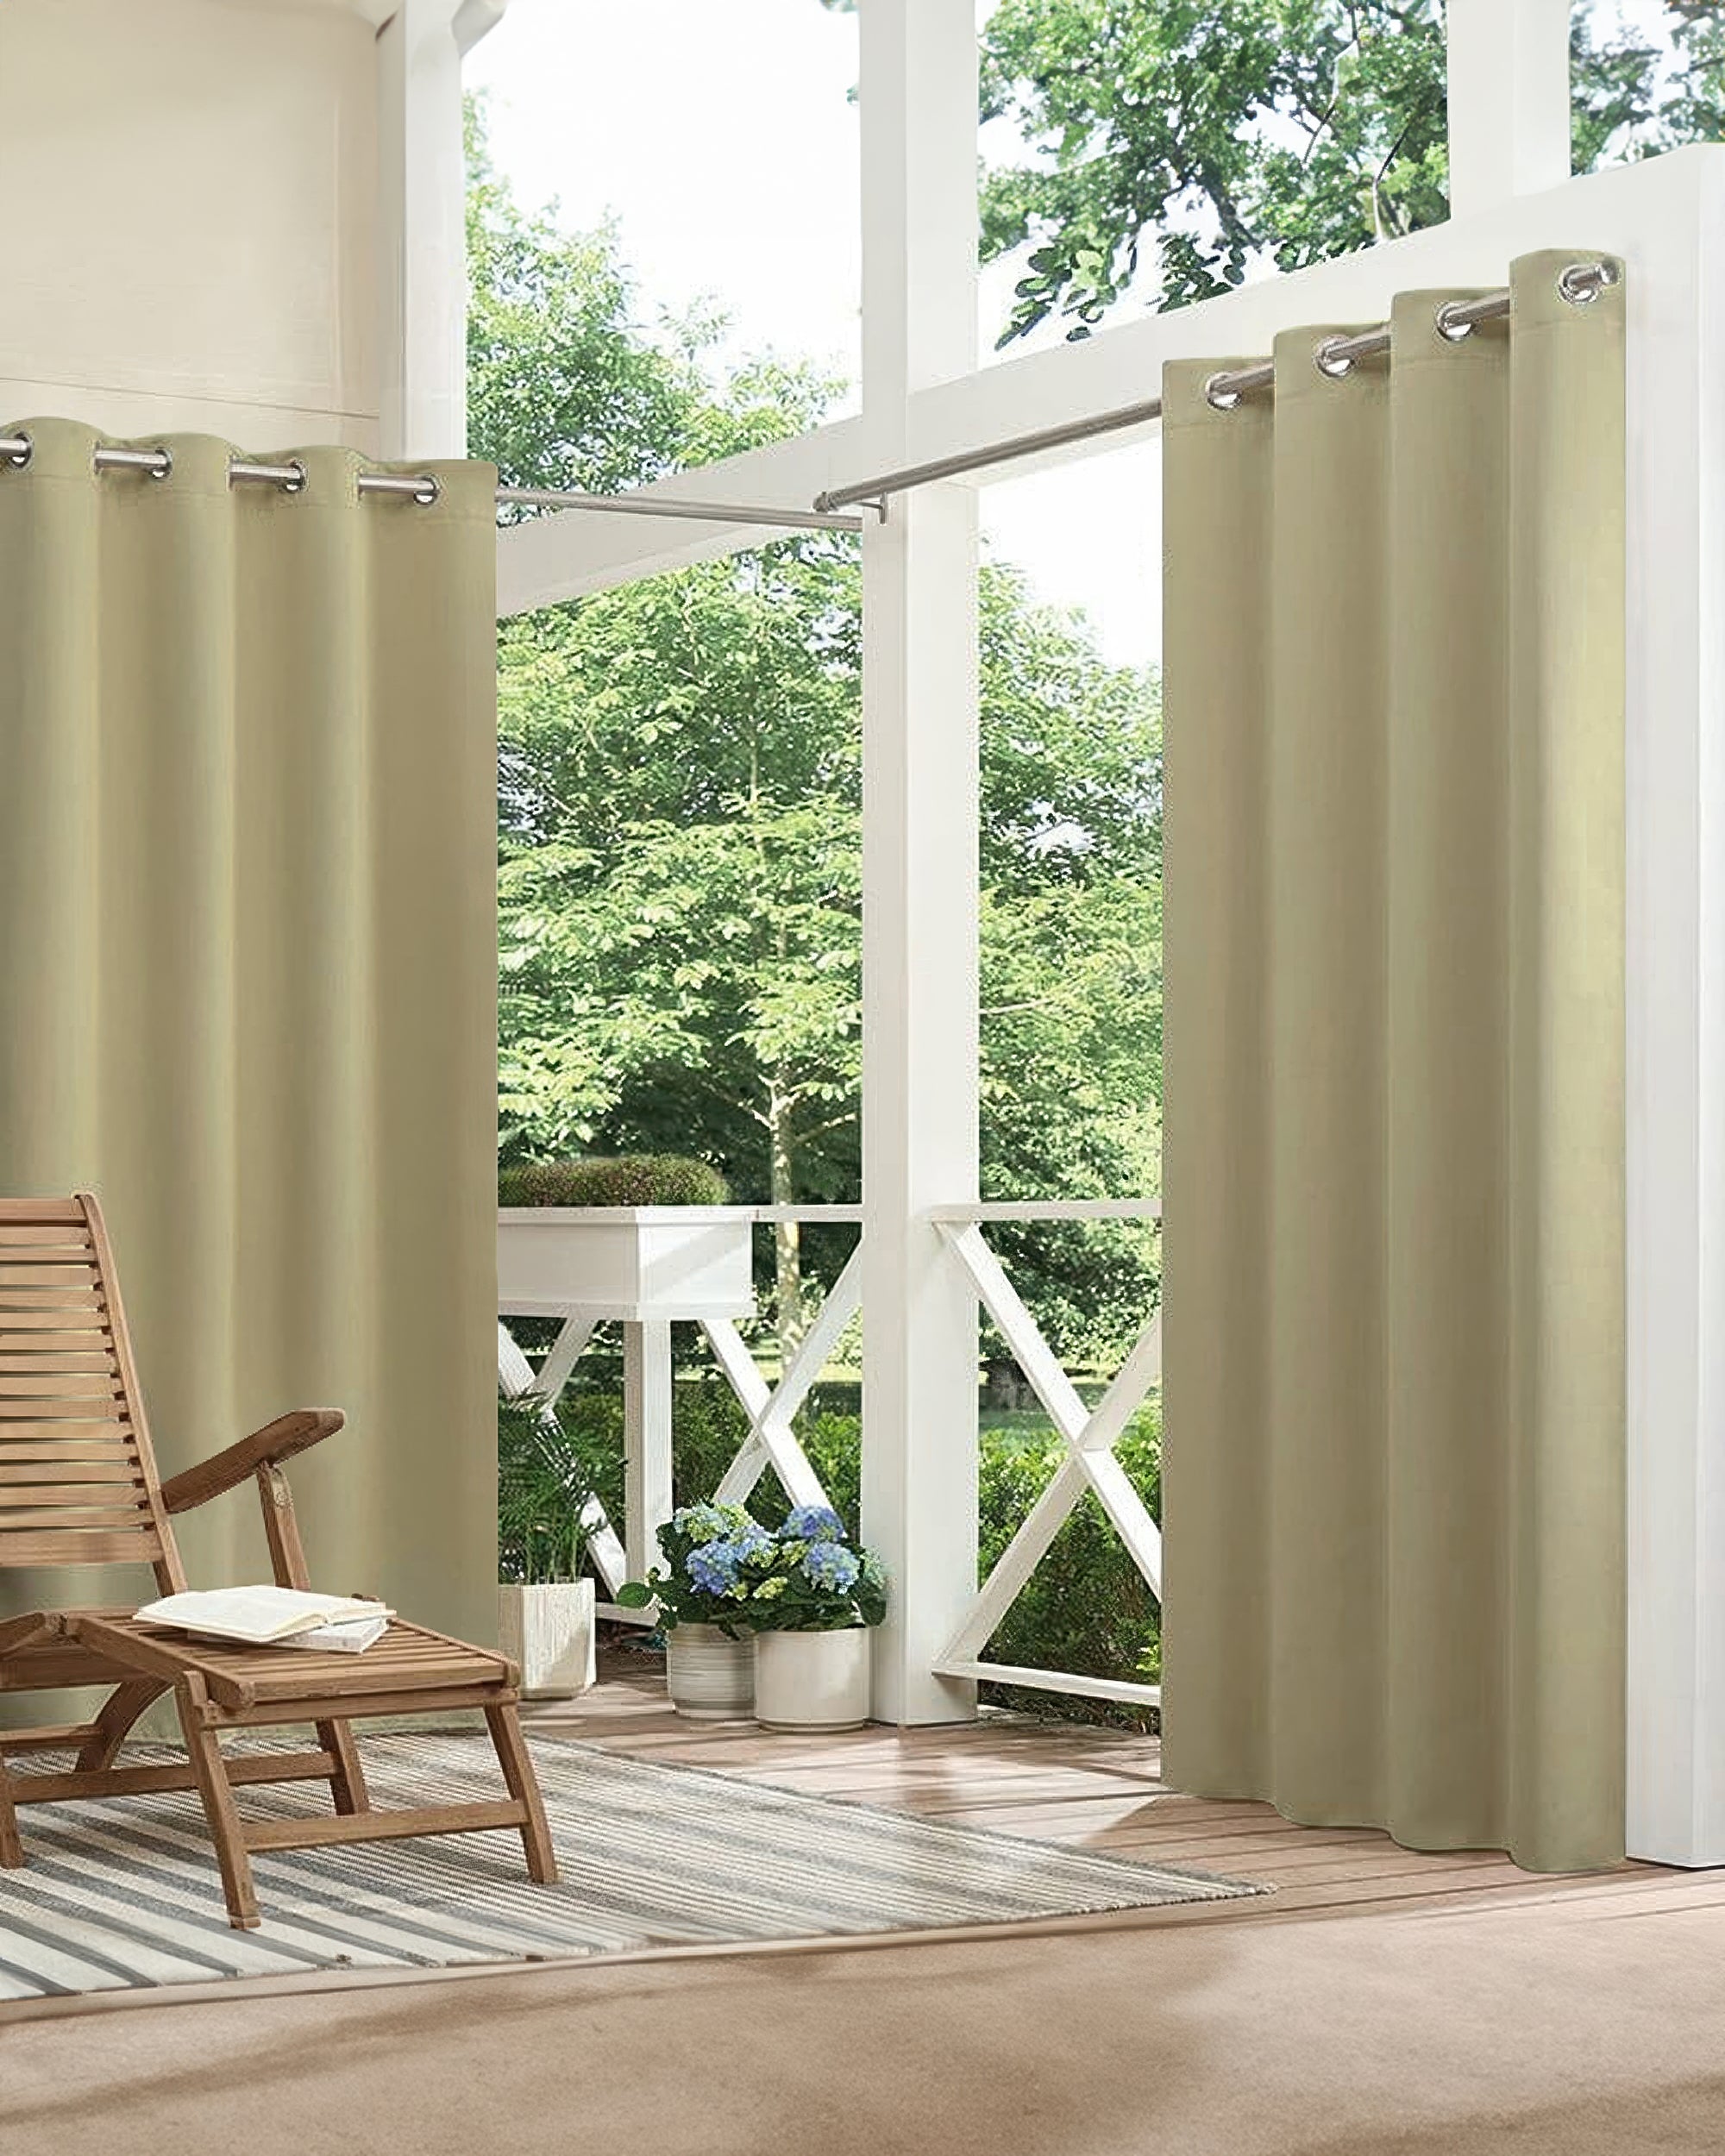
- Renters with old, single-pane windows
- Owners of drafty pre-1990 houses
- People in extreme heat climates (Arizona, Nevada) trying to survive summer on a budget
- Rooms where natural light doesn't matter: bedrooms, home theaters, storage areas
Skip this project if you have:
- Double-pane or Low-E glass windows (serious damage risk explained below)
- HOA rules about window appearance
- Windows where you want daylight during the day
- Fire safety concerns near heat sources

The window damage warning nobody mentions
Most $4 curtain tutorials skip this: reflective materials can crack modern windows.
If your home was built after 1990, your windows are probably double-pane. Two layers of glass with an insulating air gap or gas fill between them. When you put reflective material like Mylar near double-pane glass, you bounce solar radiation back into that sealed space. One pane heats up while the other stays cool. This creates thermal stress.
The results: blown seals that cause permanent fogging, or in some cases, cracked glass. Replacing a double-pane window costs $300 to $800. Your $15 project could become a $500 repair.

Low-E glass faces similar risks. The coating already manipulates heat transfer, and adding another reflective layer compounds the stress.
If you have modern windows and still want to try this, hang the curtain at least 3 inches away from the glass. This air gap prevents heat buildup. But honestly, if your windows are already efficient, you're better off with regular thermal curtains.
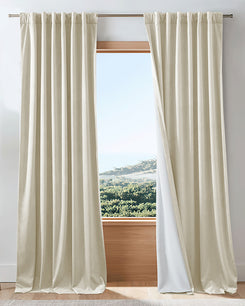
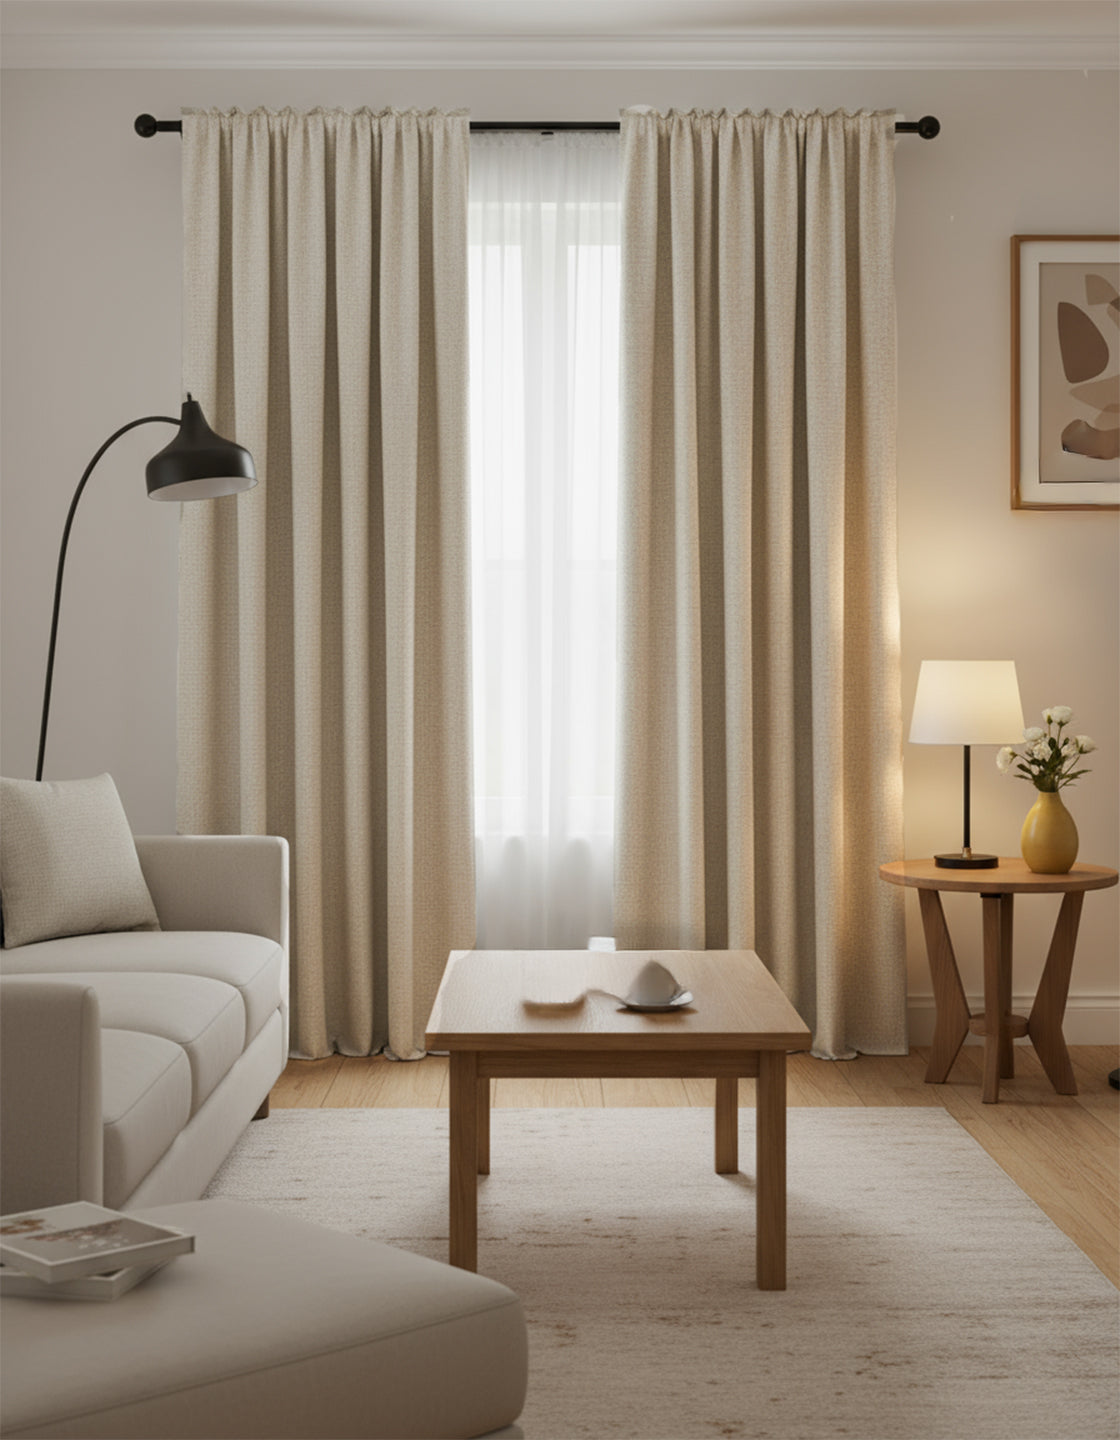
 100% Blackout
 Better sleep
 Noise Reducing
 Energy Saving
How reflective barriers actually work
Most thermal curtains work like a sweater: thickness and trapped air slow heat transfer through conduction. Emergency blankets work differently. The metallized polyester (Mylar) bounces back radiant heat rather than absorbing it.
A common piece of advice says to flip curtains seasonally because "the reflective side bounces heat." This ignores basic physics. A radiant barrier needs an air gap to function. When Mylar presses against fabric, conduction takes over and the reflective properties become useless.
In winter, Mylar curtains don't really reflect body heat back into the room. They work as draft blockers and vapor barriers, preventing interior air from hitting cold glass and reducing condensation. The reflection benefit is minimal without proper air gaps.
Materials list: $10 to $20 per window
Emergency blankets: Standard size is 52" x 84". Heavy-duty versions around 2.5 mil thickness hold up better and make less noise. Basic Mylar blankets run $1 at dollar stores. Camping sections carry better quality for $3 to $5 each.
Front fabric (required): Any opaque fabric works for the room-facing side. Thrift stores sell curtain panels, flat sheets, or fleece blankets that work fine.
Back lining (strongly recommended): Cheap white lining fabric on the window-facing side solves two problems. First, it hides the silver Mylar from neighbors and HOA enforcement. Silver film in windows looks like a grow operation or abandoned property and draws unwanted attention. Second, it keeps the appearance neutral from the street.
Attachment supplies: Fabric tape, spray adhesive, or basic sewing supplies. Budget $5 to $10 if buying new.
The original $4 figure assumes you already have curtains and are just pinning Mylar to the back. A proper three-layer system runs $10 to $20 per window. This is still cheaper than quality thermal curtains, but the real advantage is performance: retail thermal curtains use foam backing, while this DIY version uses an actual radiant barrier.

Assembly: the pillowcase method
Prep the Mylar: Unfold your emergency blankets and crumple them into loose balls. Smooth them back out and let them sit for a few hours. This breaks the rigid structure and reduces the crinkling noise that drives people crazy.
Cut your pieces: Cut the Mylar sheet one inch smaller than your fabric panels on all sides. This ensures the silver film stays hidden inside the finished curtain and doesn't peek out the edges. Cut the white backing (if using) the same size as the front fabric.
The pillowcase approach: Instead of sewing through all three layers in a grid pattern (which creates perforation lines that tear over time), use this method:

- Place front fabric and white backing together, right sides facing in
- Sew three sides like a pillowcase, leaving the top open
- Turn right-side out
- Slide the crumpled and smoothed Mylar sheet inside
- Tack the Mylar only at the top corners, or use spray adhesive to lightly bond it to one fabric layer
This prevents the needle-hole tearing problem that ruins Mylar curtains after a few months of use.
Shiny side orientation: For summer cooling, the shiny side faces the window to reflect sunlight. The matte side faces the room.
Edge finishing: Fold the top edge in and sew or tape closed. Add your hanging hardware: grommets, tabs, or a rod pocket.
Fire safety: the plastic problem
Mylar is plastic. It doesn't ignite as quickly as paper or light fabric, but it melts and can drip burning material when exposed to flame or high heat.
If a candle catches a regular cotton curtain, the fabric burns. If it catches a Mylar-lined curtain, the Mylar melts and can release sticky, burning plastic onto anything below. This is worse than a standard curtain fire.
Practical safety rules:
- Keep Mylar curtains away from space heaters, radiators, and open flames
- No candles in rooms with these curtains
- Make sure curtains can't blow onto hot surfaces when windows are open
- Sandwiching Mylar between fabric layers reduces but doesn't eliminate the risk
If fire safety is a concern (young children, elderly family members, anyone with mobility issues), regular fire-retardant curtains may work better than DIY Mylar.

Installation: single-pane vs. double-pane
Gap management determines whether these curtains work or not. Radiant heat flows around barriers easily. Loose curtains let warm air bypass them completely.
For single-pane windows (safe to mount close)
Mount the curtain rod as close to the window frame as possible. You want to trap still air between the curtain and glass.
Extend the curtains a few inches wider than the window opening so they overlap the wall on each side. This breaks the convection loop where warm air rises behind the curtain, cools at the top, and falls back down.
Seal the top with a curtain rod that has returns (the parts curving back to the wall) or a simple pelmet. An unsealed top lets most of your heat escape.
For double-pane windows (maintain 3-inch gap)
You must leave at least 3 inches between the curtain and the glass. This prevents thermal stress that can crack the window or blow the seals.
Don't seal the curtain tight against the frame. Some air circulation behind the curtain actually protects the glass.
Condensation watch
In winter, creating a cold zone between curtain and glass can cause moisture problems. Warm humid room air hits the cold window surface and condenses. Check your windows periodically. If you see moisture buildup, improve ventilation behind the curtains or pull them back during the day to let the glass warm up.
Realistic expectations
People who've done this project report noticeable temperature differences, especially on south and west-facing windows that get direct sun for hours. The most dramatic results come from rooms that were previously unbearable in summer heat.
That said, results vary widely because starting conditions vary widely. A single-pane window facing afternoon sun in Phoenix will show bigger improvements than a north-facing window with decent double-pane glass in Seattle.
Durability is limited. Emergency blankets are designed for one-time use. With careful handling, DIY thermal curtains might last two to three years before the Mylar cracks at fold lines and loses reflectivity. The pillowcase method and heavy-duty blankets extend lifespan somewhat.
Appearance is a tradeoff. Even with decorative front fabric and white backing, Mylar adds stiffness that affects how curtains drape. They won't hang as smoothly as conventional fabric curtains.
The bottom line
DIY Mylar curtains can meaningfully reduce heat gain through problem windows, but only under the right conditions. Single-pane windows in hot climates with proper installation and safety precautions? Worth trying for $15 to $20 in materials. The performance beats cheap retail thermal curtains because you're using an actual radiant barrier instead of foam.
Modern double-pane windows, HOA restrictions, or fire safety concerns? Probably not the right solution.
Start with one window. Live with it for a season. Then decide whether the results justify expanding to other rooms.