Taking down window shades may look daunting at first, but the job becomes straightforward once you know the technique. Whether you want to refresh a room or replace tired fabric, understanding how each style—roller, Roman or any other—comes off is essential. Homeowners frequently face stuck brackets, stiff springs and mounting hardware that defies intuition. This concise guide identifies your shade, lists the tools you need and walks you through each step so you can detach it cleanly, clearing the way for a quick, stylish update.

Understanding Your Shade Type
Recognising the style of your window shade is the first and most critical move before any installation or removal. Each shade family calls for its own set of tools and methods. A quick check—roller, Roman or woven—will save both time and effort later.
-
Roller Shades: These generally come equipped with spring-loaded brackets. To release it, simply press the shade towards the spring side of the bracket.
-
Roman Shades: They are often affixed using hook-and-loop tape or clips. Gently detach the shade from the top rail.
-
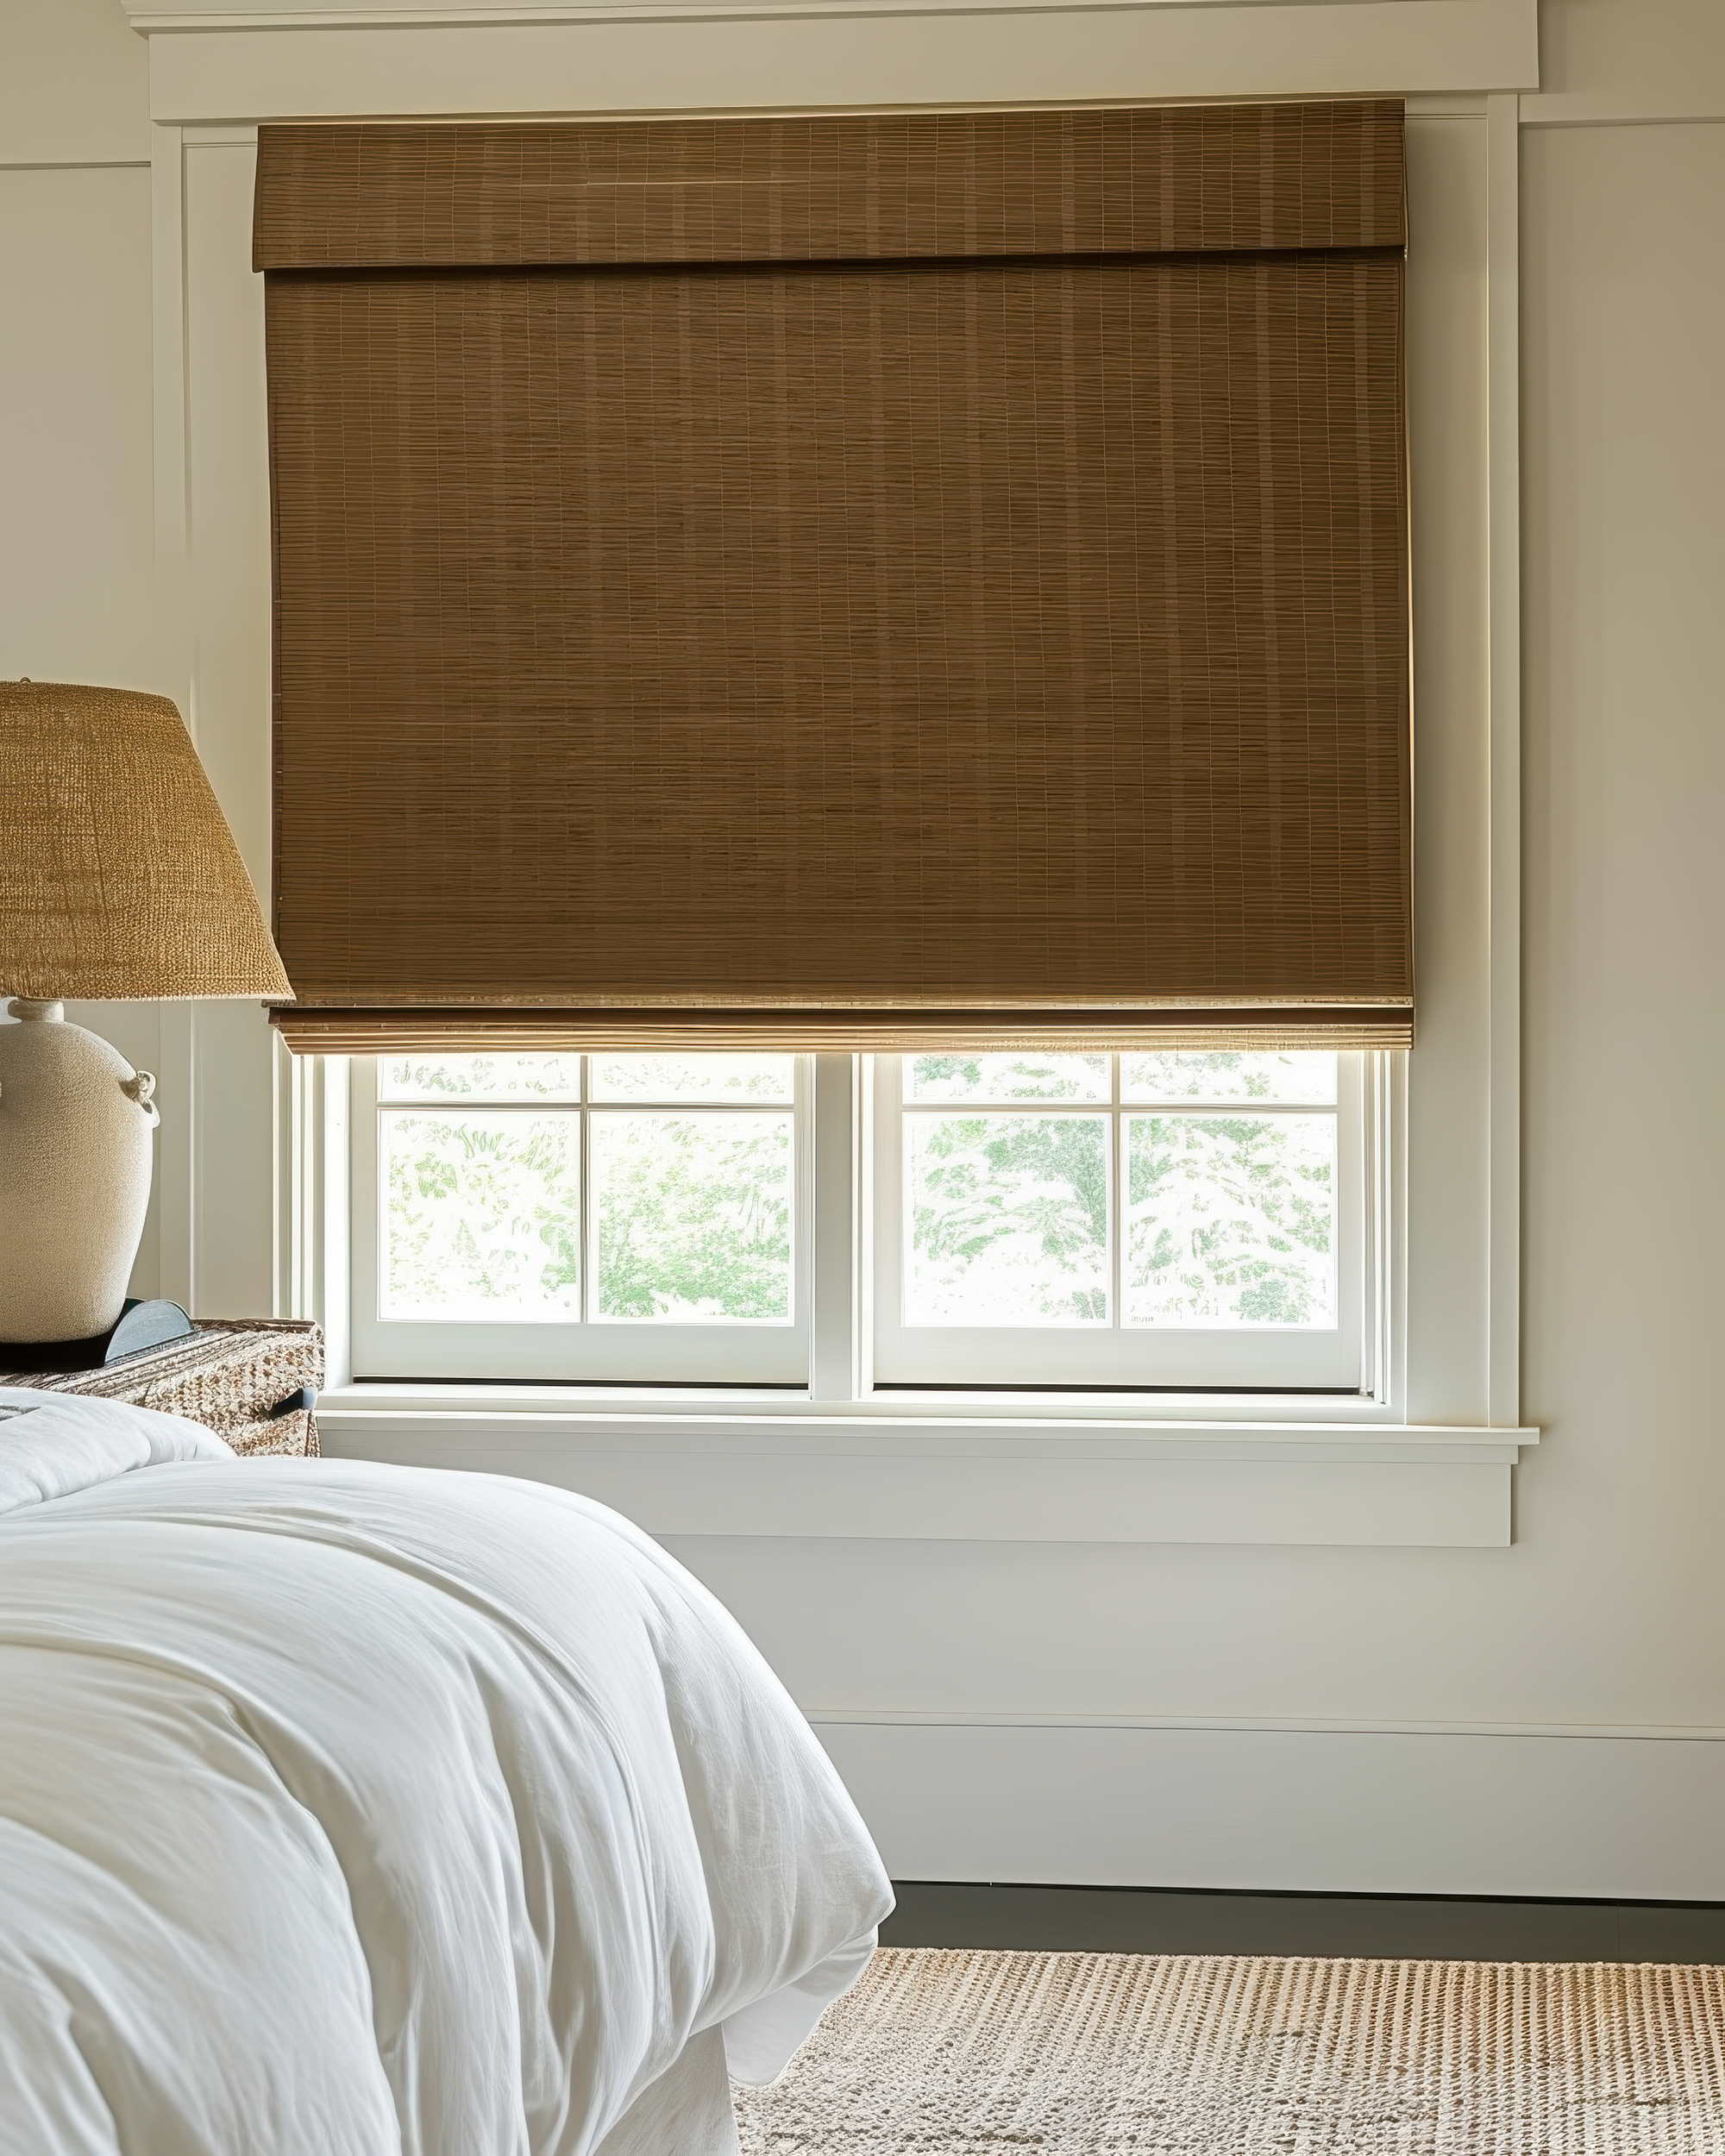
Woven Shades: Crafted from bamboo, grassweave, or natural fibers, these shades frequently employ Velcro or hook-and-loop mounts, facilitating effortless installation and removal.
-
Cordless shades: Similar to some modern Roman styles, they occasionally use differing release systems. A discreet button or toggle on the bracket may need to be pressed to free the shade, so check for a small tab if pushing and tilting fails.
Tools You May Need
Before you begin, take a moment to assemble every tool you will need; this small investment of effort prevents delays and keeps the workflow smooth. Here's a list of items you should have at your disposal:
-
Screwdriver (Flathead and Phillips): Essential for loosening brackets or any mounting hardware that may be in place.
-
Step Stool or Ladder: Necessary for safely accessing and working on high windows without risking a fall.
-
Pliers: Handy for dealing with stubborn clips or cords that refuse to budge easily.
-
Utility Knife: Useful for trimming excess cords or scraping away caulk when the need arises.
-
Protective Gloves: While optional, they provide valuable protection when handling metal components or working in dusty environments with blinds.
-
Zip Ties or Rubber Bands: Perfect for bundling and securing loose cords during the removal process, keeping everything tidy.
-
Small Container or Zip Bag: Ideal for storing screws and small parts, ensuring that nothing important goes missing.

Step-by-Step: How to Remove Window Shades
Roller Shades
-
Before removing the roller shade, first raise it until the fabric is fully wound around the roller.
-
Next, look at both ends of the roller tube, where the shade meets the mounting brackets. One end usually carries a round pin that seats firmly in the matching hole of the bracket, while the opposite end has a flat pin with notches.
-
Find the end of the roller shade that carries the round, spring-loaded pin; it usually sits on the same side as the pull chain. Press the pin inward with steady, gentle pressure until it slips out of its bracket—this disengagement is the key to taking the shade down.
-
Once the tension pin is fully depressed and free of the bracket, begin lowering that end of the shade. As it descends, the opposite side—fitted with the flat pin—should slip out of its bracket slot without resistance. Moving both ends in tandem keeps the removal smooth.
Roman Shades
-
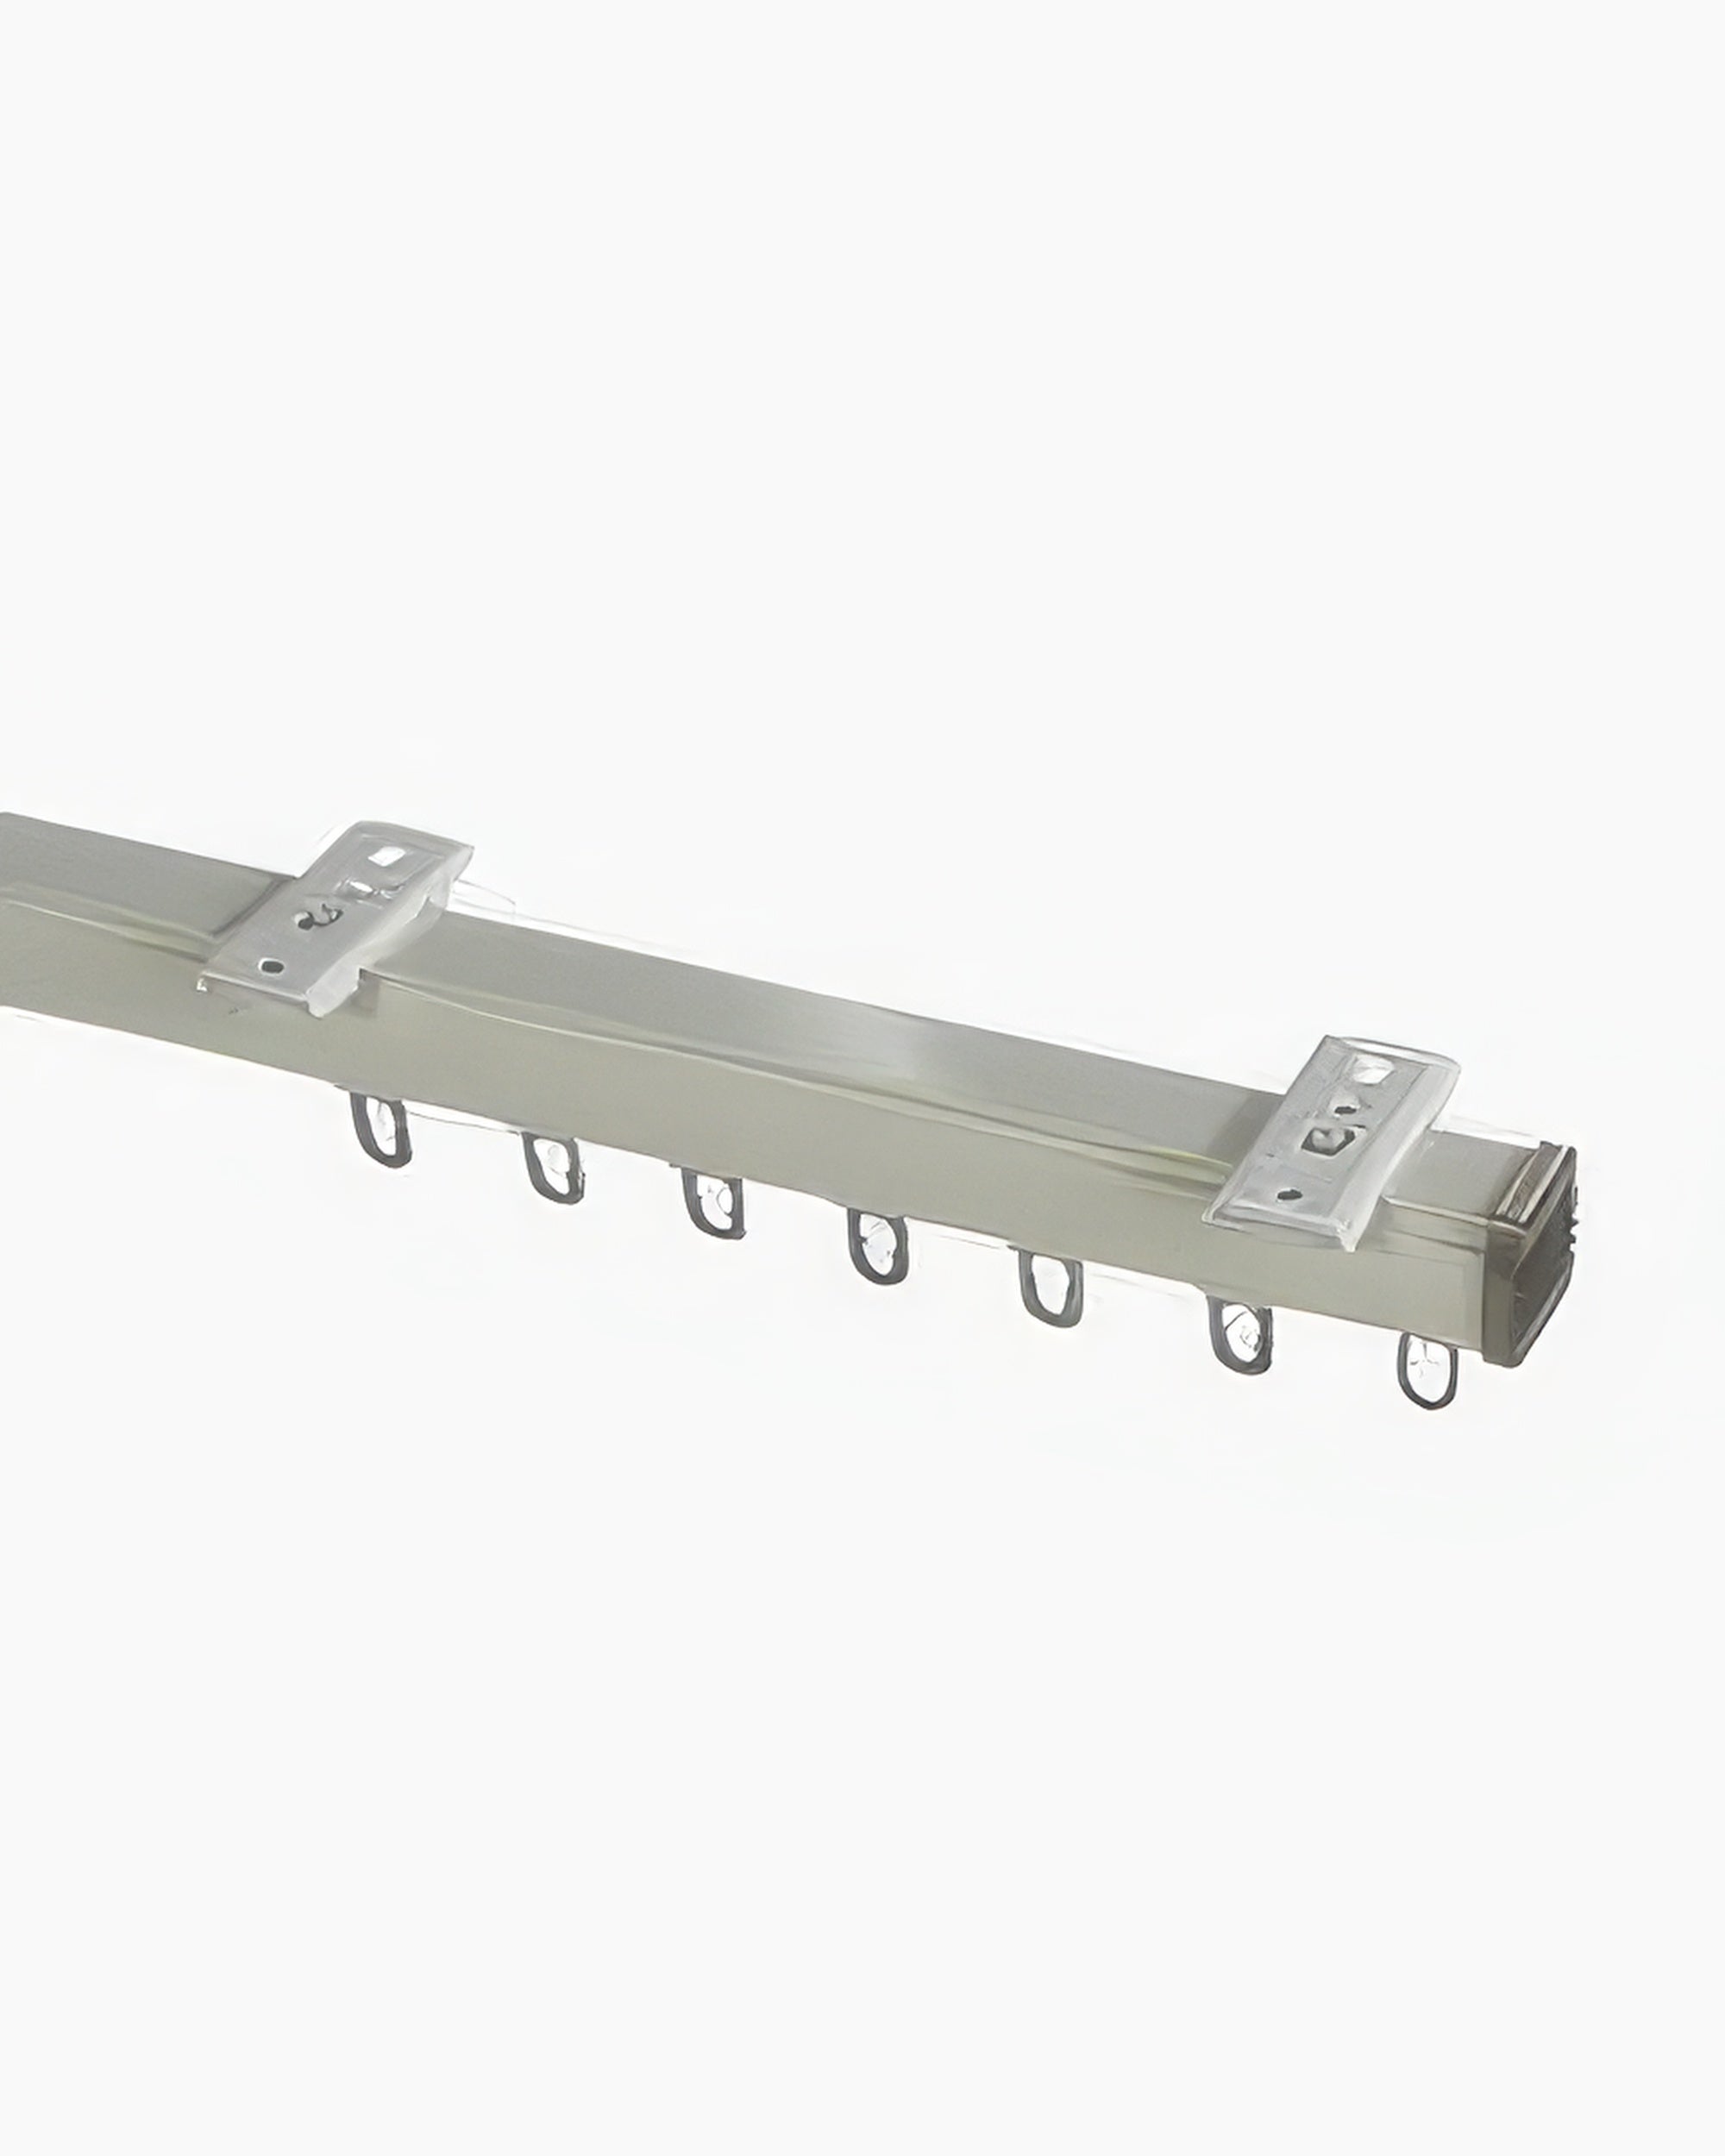
The shades are typically mounted on small L-shaped or spring-loaded brackets, which are carefully placed to grip the headrail firmly at the top.
-
To detach most Roman shades, first press the headrail firmly toward the glass; then tip its front edge down and away from the brackets. The combined push-and-tilt motion frees the rail from the retaining clips, though a solid push is sometimes required to release it.
Woven Shades
Before you start the removal process of woven shades, make sure to raise the shade all the way up.
-
Woven shades frequently use Velcro strips or hook-and-loop fasteners for attachment. Take a close look along the edges where the shade connects to the headrail.
-
After you have located the Velcro or hook-and-loop strips, ease the shade away from the headrail with a gentle pull, keeping the pressure light and even so the woven fabric and the fastener remain intact.
-
If you intend to swap the woven shade for a new panel or relocate it, first remove all mounting hardware. Select a suitable screwdriver and rotate each screw counterclockwise until it comes free.

Common Sticking Points & Fixes
Shade Won't Budge?
If the shade refuses to budge, there is no need to worry; inconspicuous release tabs or safety locks may be holding it in place. Inspect the edges, corners and crevices closely, running your fingers over the surface to detect any tiny bumps or indentations. Once you locate the mechanism, follow the printed directions to release it and free the shade.
Brackets Stuck with Paint Buildup?
With time, layers of paint can accumulate on the brackets that hold the shade, effectively gluing them to the wall. Slip a flathead screwdriver into the narrow space between the bracket and the wall, then apply gentle pressure to ease the bracket away. Work slowly and avoid excessive force so the surrounding wall or window frame remains intact.
Cordless Mechanisms?
Cordless shades present a clean profile yet demand cautious handling when taken down. Begin by fully retracting the shade so the internal components settle; this keeps gears, springs and related parts from being harmed. Whether you rely on the pull cord, a remote, or a manual lift, run the shade all the way up before you start removal.
What to Do After Removal
Clean the Window and Hardware
Once the shades are off, wipe the glass, brackets, and frame until every trace of dust is gone; a spotless surface is what lets the new shades seat properly. Polish the pane with glass cleaner and a soft cloth, then run a barely damp cloth over the brackets and screws to lift any remaining grit without forcing moisture into the threads.
Store or Dispose of the Shades
If reusing, gently roll or fold shades and store in a dry, cool place. For unwanted shades, donate to charity or recycle them responsibly following local guidelines.
Hardware Storage Tip
When hardware is to be reused for window shades, place the brackets and screws in clearly labeled bags. Once the components are removed, sort them into individual small plastic pouches and note the window bay or specific shade they belong to; this simple step streamlines reinstallation.

Safety Notes
Removing window shades might seem like a simple task, but it's important to take precautions:
-
Support the Shade: Always use one hand to support the shade while releasing the brackets. This prevents it from falling and causing damage or injury.
-
Use a Sturdy Ladder: For tall windows, make sure your ladder is sturdy and placed on a level surface.
-
Ask for Assistance: If the shades are especially heavy (like oversized woven shades), don't be afraid to ask for help. Safety first!
Conclusion
Removing window treatments needn't be a source of stress. By mastering the proper technique for taking down shades, you can streamline the process, save valuable time, and avoid any potential damage. Whether you're cleaning or replacing them, acquiring the skill to efficiently remove shades from windows is a valuable asset for every homeowner. With this guide, you're well-equipped to tackle any shade removal project with confidence.


