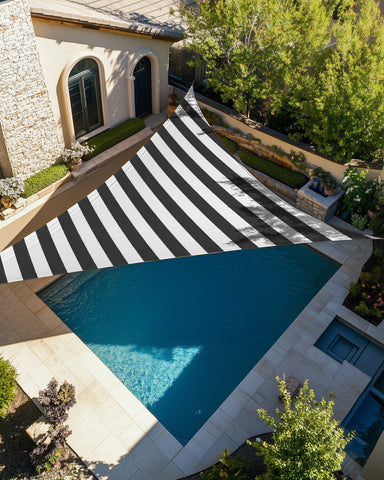
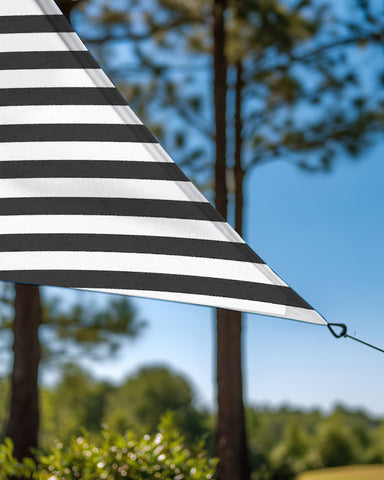
UVShield™ Striped Waterproof Custom Triangle Sun Shade Sail
- Regular price
- $119.00
- Regular price
-
- Sale price
- $119.00


Premium Custom Sunshade Stay cool and protected in the outdoor


Your Shopping Cart is Empty
Browse our latest collection or check your saved favorites to add more items to your cart.
Manage your profile, track your orders, and enjoy a seamless shopping journey with us.