How To Cover Windows For Privacy : 3 Practical Methods


Natural light is a must-have for any home, but it often comes at the cost of your privacy. If you are struggling with a fishbowl effect—where neighbors and passersby can see right into your living space—you don't need to sacrifice the sun to get some seclusion.
Whether you are looking for a quick DIY fix or a stylish design upgrade, here are the three most effective ways to cover your windows for privacy without losing natural light.
Method 1: Layering Privacy Curtains (The Best All-Around Solution)
Curtains are the most versatile option because they allow you to control the light levels throughout the day. However, a common misconception is that one curtain does it all. To achieve true privacy, you generally need a layered approach.
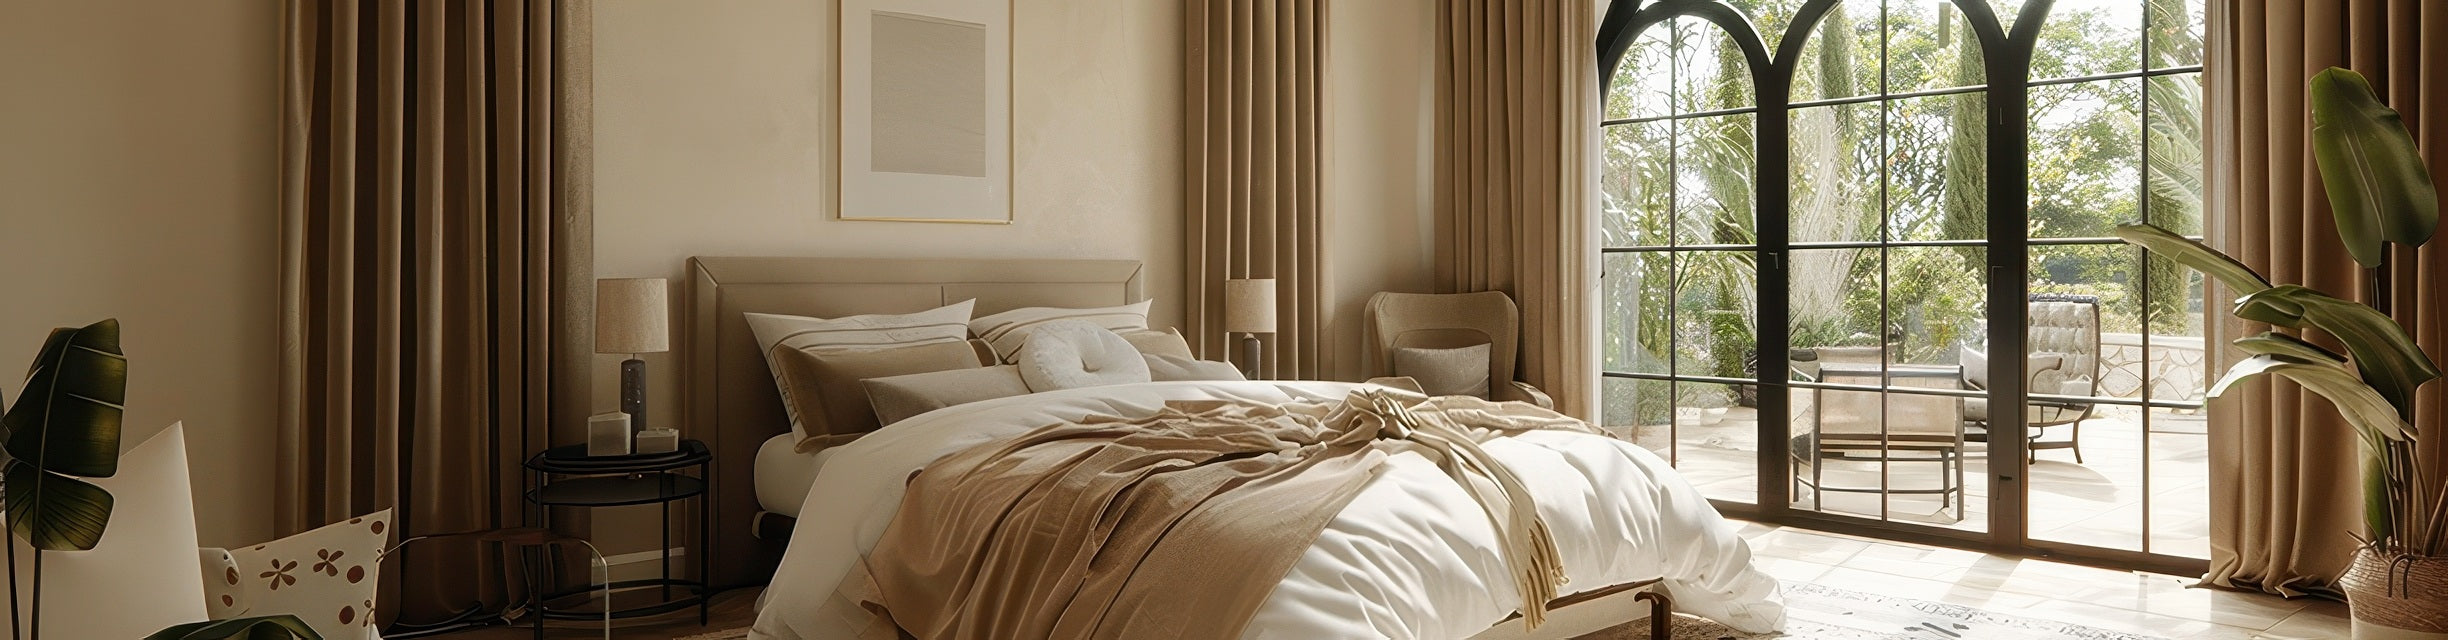
Sheer Curtains are excellent for daytime privacy. They blur the view from the outside while letting sunlight filter in. However, be aware: sheers become transparent at night when your indoor lights are on. For complete 24/7 privacy, pair sheers with a heavier drape or blackout curtain.


Step-by-Step Installation Guide
Installing curtains correctly can make your windows look larger and your ceilings look taller. Here is the professional way to do it:
1. Measure Width (The Fullness Rule)
Don't just measure the window glass. Measure the width of the area you want to cover. For a luxurious, pleated look, the combined width of your curtain panels should be 2 to 2.5 times the width of your window. This ensures the curtains look full, even when closed.
2. Determine Rod Height (The "High and Wide" Rule)
To maximize light and make the room feel spacious, do not place the rod directly on the window frame. Install the rod 4 to 6 inches above the window frame (or halfway between the frame and ceiling). Extend the rod 3-6 inches past the sides of the window so the curtains can be pulled back completely to let light in.
3. Install the Hardware
Once you have marked your measurements, install the brackets. Ensure they are level. If you need detailed help, check our guide on how to hang curtain rods correctly.
4. Hang and Style
Slide your curtains onto the rod. The header style (Grommet, Rod Pocket, Pinch Pleat) will determine how the fabric falls. Arrange the folds evenly for a polished look.
Method 2: Window Privacy Film (The Renter-Friendly Choice)
If you have a window where curtains aren't practical—like a shower window, a narrow sidelight next to a front door, or a rental property where you cannot drill holes—static cling window film is the superior choice.
Unlike paint, static cling film uses no adhesive. It sticks to the glass using water and can be peeled off in seconds without leaving residue, making it 100% renter-friendly. It comes in various finishes:
- Frosted: Mimics etched glass, lets light in but blocks the view completely.
- One-Way Mirror: Allows you to see out during the day while blocking others from seeing in (note: this effect reverses at night).
- Decorative: Stained glass or geometric patterns for added style.
Installation is fast—usually taking just 20-30 minutes per window. You simply clean the glass, spray it with soapy water, apply the film, and squeegee out the bubbles.
Method 3: Frosted Spray Paint (For Permanent Utility)
For areas like garages, basements, or odd-shaped bathroom windows where cutting film is difficult, frosted glass spray paint is a viable DIY option. It creates a semi-permanent matte finish that diffuses light effectively.
Warning: This method is messy and difficult to reverse. It is not recommended for living rooms or rental properties, as scraping paint off glass is labor-intensive. However, for a permanent utility window, it is a cost-effective solution that withstands humidity well.
Final Verdict: For the living room and bedroom, layered curtains offer the best balance of style and function. For bathrooms and rentals, go with privacy film. Whatever method you choose, you can enjoy your natural light without feeling like you are on display.


