The Ultimate Guide to Curtain Clips


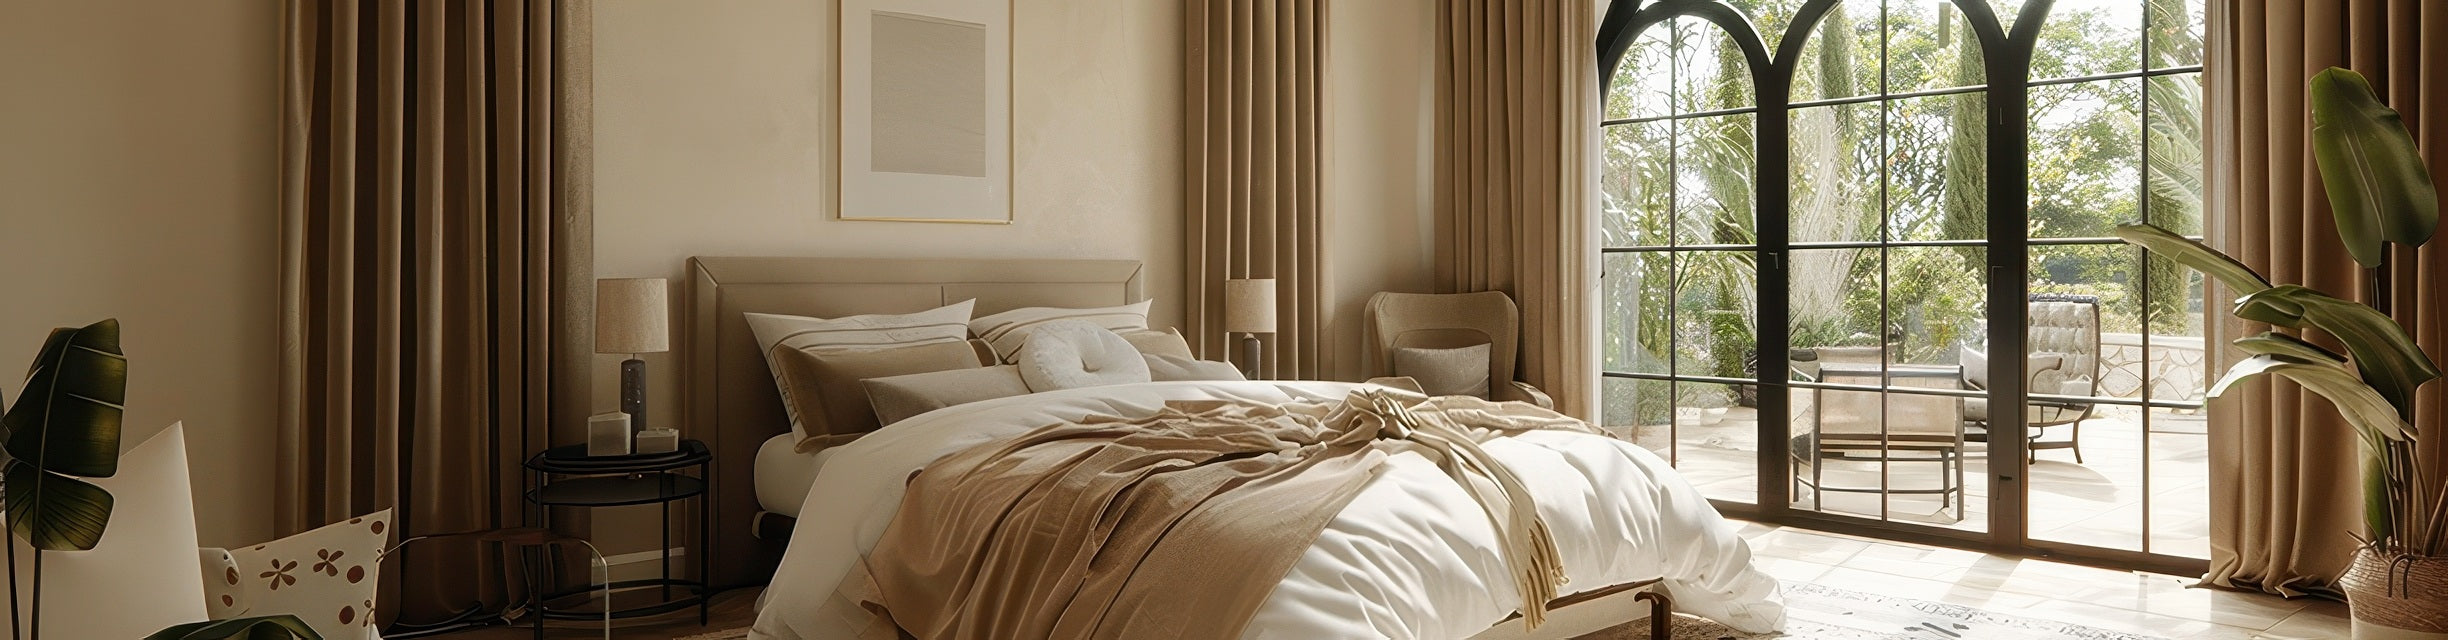
Curtain clips are small spring-loaded jaws or rings with a clip attached that grip the top edge of a fabric panel and hang it from a rod — no sewing, no grommets, no punched holes. To hang a panel evenly, space the clips about one every 4 to 6 inches, which works out to roughly 7 to 9 clips on a standard 50-inch panel. That spacing is the whole game: too few and the top sags into deep, uneven swags; too many and the fabric looks stiff and bunched. Get it right and a $20 ready-made panel reads like tailored drapery.
Clips are the most flexible way to hang curtains because they work on any fabric — store-bought panels, a flat sheet, a drop cloth, a vintage scarf — and they let you change the curtain length, swap panels by season, and take everything down without a single hole in the wall. That makes them the go-to for renters, beginners, and anyone who likes to redecorate. Here's how to use them properly, how many you need, and which clip type fits your setup.

What are curtain clips and how do they work?
A curtain clip is a metal or plastic clamp with a spring. You squeeze it open, pinch it onto the fabric about ½ inch below the top edge, and let go — the spring holds the fabric tight. The top of the clip then either slides directly onto the rod as an open ring clip or attaches to a separate curtain ring as a ring with a clip.
Unlike the other ways to hang a panel, clips don't need anything built into the curtain itself:
- Grommets need metal-rimmed holes punched through the header.
- Rod pockets need a sewn fabric channel.
- Tab tops and pinch pleats need stitched tabs or pleats.
- Clips attach to raw fabric, so they fit a panel that has none of the above.
That's why clips are the universal adapter of window treatments: they turn any rectangle of fabric into a hangable panel. For a full rundown of every header style and when to use each, see our guide to curtain heading types.
How many curtain clips per panel?
Use about one clip every 4 to 6 inches of panel width, then round up so the two end clips sit right at the outer corners. On a standard 50-inch panel that's 7 to 9 clips. The denser end of that range, every 4 inches, is for heavy fabric and crisp pleats; the looser end, every 6 inches, is for lightweight linen and a soft, relaxed top.
The math is simple: divide the flat, unstretched panel width by your target spacing, then add one for the starting clip.
Clips needed ≈ panel width ÷ spacing + 1
Curtain clip quantity by panel width
| Flat panel width | Light fabric, every 6 in | Heavy fabric / crisp pleats, every 4 in |
|---|---|---|
| 40 in | 8 clips | 11 clips |
| 50 in | 8–9 clips | 12–13 clips |
| 60 in | 11 clips | 16 clips |
| 100 in | 17–18 clips | 26 clips |
| 150 in | 26 clips | 38 clips |

Three things shift the number:
- Fabric weight. Heavy velvet, brocade, or blackout panels pull down between clips and gap at the top, so tighten the spacing toward every 4 inches to spread the load. Light sheers and linen are forgiving at 6 inches.
- Pleat depth. If you're pinching the fabric into structured folds, each pleat eats width, so you'll add clips — roughly one per 4 inches or one per pleat.
- Always place a clip at each end. The outer corners carry the most strain and are the first to droop; anchor them.
A quick gut check: if the top edge dips into U-shaped sags between clips, you're under-clipped. Add one in the middle of each sag and re-space.
Ring clip vs pinch drapery clip: which should you use?
"Curtain clip" actually covers three different tools, and people mix them up constantly. Here's the difference and when each one wins.
| Type | What it is | Glides on the rod? | Best for | Watch out for |
|---|---|---|---|---|
| Open ring clip | A ring split open at top, with a clip below; goes straight on the rod | Decent, but the open ring can catch | Light to medium panels, casual looks, café curtains | The open gap can snag on a thick or decorative rod |
| Curtain ring with clip | A closed ring that slides on the rod, with a separate clip hanging from it | Smoothest — the ring rolls on the rod | Heavy panels, decorative or thick rods, a tailored stack-back | Slightly pricier; adds a bit of height above the rod |
| Pinch / drapery clip | A clip with a long prong or hook that bites deeper into the fabric to form a pleat | N/A — pairs with rings or hooks | Structured pleated drapery, heavier formal panels | More fabric prep; meant for pleated, not flat, panels |
The short version: open ring clips are the cheap, fast, renter-friendly default. Rings with clips are the upgrade — pay for them when your rod is thick or decorative, your panels are heavy, or you want the curtains to fold back into a neat stack when open. Pinch/drapery clips are for when you actually want formal pleats, and they overlap with traditional pleated-header territory. If that's your goal, our guide to drapery and curtain pleat styles covers the look in depth.
One practical note: a 120-inch panel hung on rings stacks back deeper and more neatly when you open it than the same panel on direct open-ring clips, which is exactly why formal dining and living rooms tend to use rings.

What materials and finishes do curtain clips come in?
Clips are a finishing detail, so match them to your rod and nearby metals, such as light fixtures and drawer pulls, rather than to the fabric.
- Stainless steel: durable and rust-resistant — the right choice for kitchens, bathrooms, and any humid window.
- Brass / copper: warm tone that suits boho, vintage, and mid-century rooms; available in antique-brass and brushed finishes.
- Matte black: crisp, modern, disappears against sheer white panels for a Scandinavian look.
- Plastic: cheapest and lightest, fine for temporary or very light panels, but it can yellow and the spring weakens over time.
Pro move: clip finish should echo your rod's finial and bracket finish. A black rod with brass clips looks like a mistake; a black rod with black clips looks intentional. If you're choosing rod hardware too, our guide to hanging curtain rods covers mounting and finish.

How to hang curtains with clips, step by step
You need: the panels, your clips, a tape measure, a pencil or tailor's chalk, a level, and a mounted rod.
- Iron or steam the panels first. Clips pull the top tight and broadcast every wrinkle along the header. Press them flat before you start.
- Mark even clip spots. Lay the panel flat, measure the width, and mark your spacing every 4–6 inches. Put a mark right at each end first, then divide the space between evenly. Marking beats eyeballing — uneven clips read instantly.
- Attach each clip ½ inch from the top edge. Squeeze, position on the mark, release. Keep them all the same distance down so the top line stays level.
- Hang and use a level. Slide the clips or rings onto the rod. With multiple panels, lay a level across the tops to confirm they line up — a 1-inch difference between panels is obvious from across the room.
- Train the folds. Gently tug the fabric down between clips and run your hand down each fold to set even, consistent pleats. For stubborn fabric, train it by folding it accordion-style and loosely tying it for a day or two.
Real-world hack: hang before you hem. Clip the panel up first, see where it actually falls, then fold the bottom up to your target length and clip it temporarily before sewing. It's the easiest way to avoid a crooked or too-short hem.
For a no-drill setup, clips pair perfectly with a tension rod inside the window recess — see our beginner's guide to hanging curtains without drilling.

Why use curtain clips? The real advantages
- Adjustable length, instantly. Move the clips up or down the panel to change how the curtain hangs — no hemming. Slide them down to lengthen a slightly-short panel, or up to shorten one without cutting.
- Seasonal swaps in minutes. Pop one panel off and clip another on using the same hardware. Light linen for summer, heavy thermal for winter, festive panels for the holidays.
- No wall damage. Combined with a tension rod, clips are a fully reversible, deposit-safe solution for renters.
- Easier on the fabric. Clips spread the weight across the whole top edge instead of concentrating strain on a few sewn points, so hems and headers last longer and don't fray the way overloaded grommets can.
- Works on almost any rod. Standard, traverse, and decorative rods all accept clips or rings-with-clips.
The honest trade-off versus a sewn header like grommets or pinch pleat: clips show a little hardware at the top and don't give you the same dead-uniform machine-pleated wave. For most casual and transitional rooms that's a non-issue; for a formal, hotel-crisp look, a sewn pleat still wins. If you're weighing headers, compare them in our grommet vs back tab vs rod pocket guide.
Styling ideas: ways to use curtain clips
- Relaxed wave top. Space clips every 6 inches on light linen for soft, beachy waves — the easiest casual look there is.

- Café tiers. Clip a half-height panel onto a tension rod across the lower window for kitchen and bath privacy that still lets light in up top. See our café curtains styling guide.
- Layered sheer + blackout. Hang a blackout panel on clips behind a sheer panel on a double rod for daytime softness and nighttime darkness.
- Mixed-metal accents. Run brass, copper, and black clips on one rod for a collected, eclectic header.
- No-window hangs. Clips make it easy to turn fabric into a room divider, a closet door, or a canopy — the panel doesn't need a finished header at all.

Curtain clip maintenance and troubleshooting
- Cleaning: wipe metal clips with a damp cloth and mild soap; soak plastic clips in soapy water.
- Prevent rust: keep clips dry where you can; a thin coat of clear nail polish protects steel clips in humid bathrooms.
- Slipping clips: gently squeeze the jaw with pliers to tighten the spring's grip, or move to a closer spacing if heavy fabric keeps pulling free.
- Squeaky clips: rub a little candle wax or paraffin along the jaw and the rod contact point to quiet them.
- Lost clips: keep spares in a labeled jar so seasonal swaps don't leave you one clip short.

Frequently asked questions
How many clips do I need for a standard curtain panel?
About 7 to 9 clips on a standard 50-inch panel — one every 4 to 6 inches, with a clip at each end. Use the tighter 4-inch spacing for heavy or pleated fabric.
What's the difference between a ring clip and a curtain ring with a clip?
An open ring clip goes straight on the rod and is cheaper but can snag on thick rods. A curtain ring with a clip is a closed ring that rolls smoothly on the rod with the clip hanging below — better for heavy panels, decorative rods, and a neat stack-back.
Can I use clips on heavy or blackout curtains?
Yes, but space them every 4 inches, not 6, to spread the weight, and use rings with clips rather than open ring clips so the panel glides and doesn't sag at the top.
Do curtain clips damage fabric?
No — they actually distribute weight more gently than grommets, which concentrate strain. For delicate fabric, choose smooth-jaw clips and avoid overstretching.
Can curtain clips slide on the rod to open and close?
Yes. Open ring clips slide directly; rings with clips glide most smoothly. For frequent open-and-close windows, rings with clips are worth it.
Are curtain clips good for renters?
Very. Pair them with a tension rod inside the window recess for a completely no-drill, no-damage setup you can take with you.


