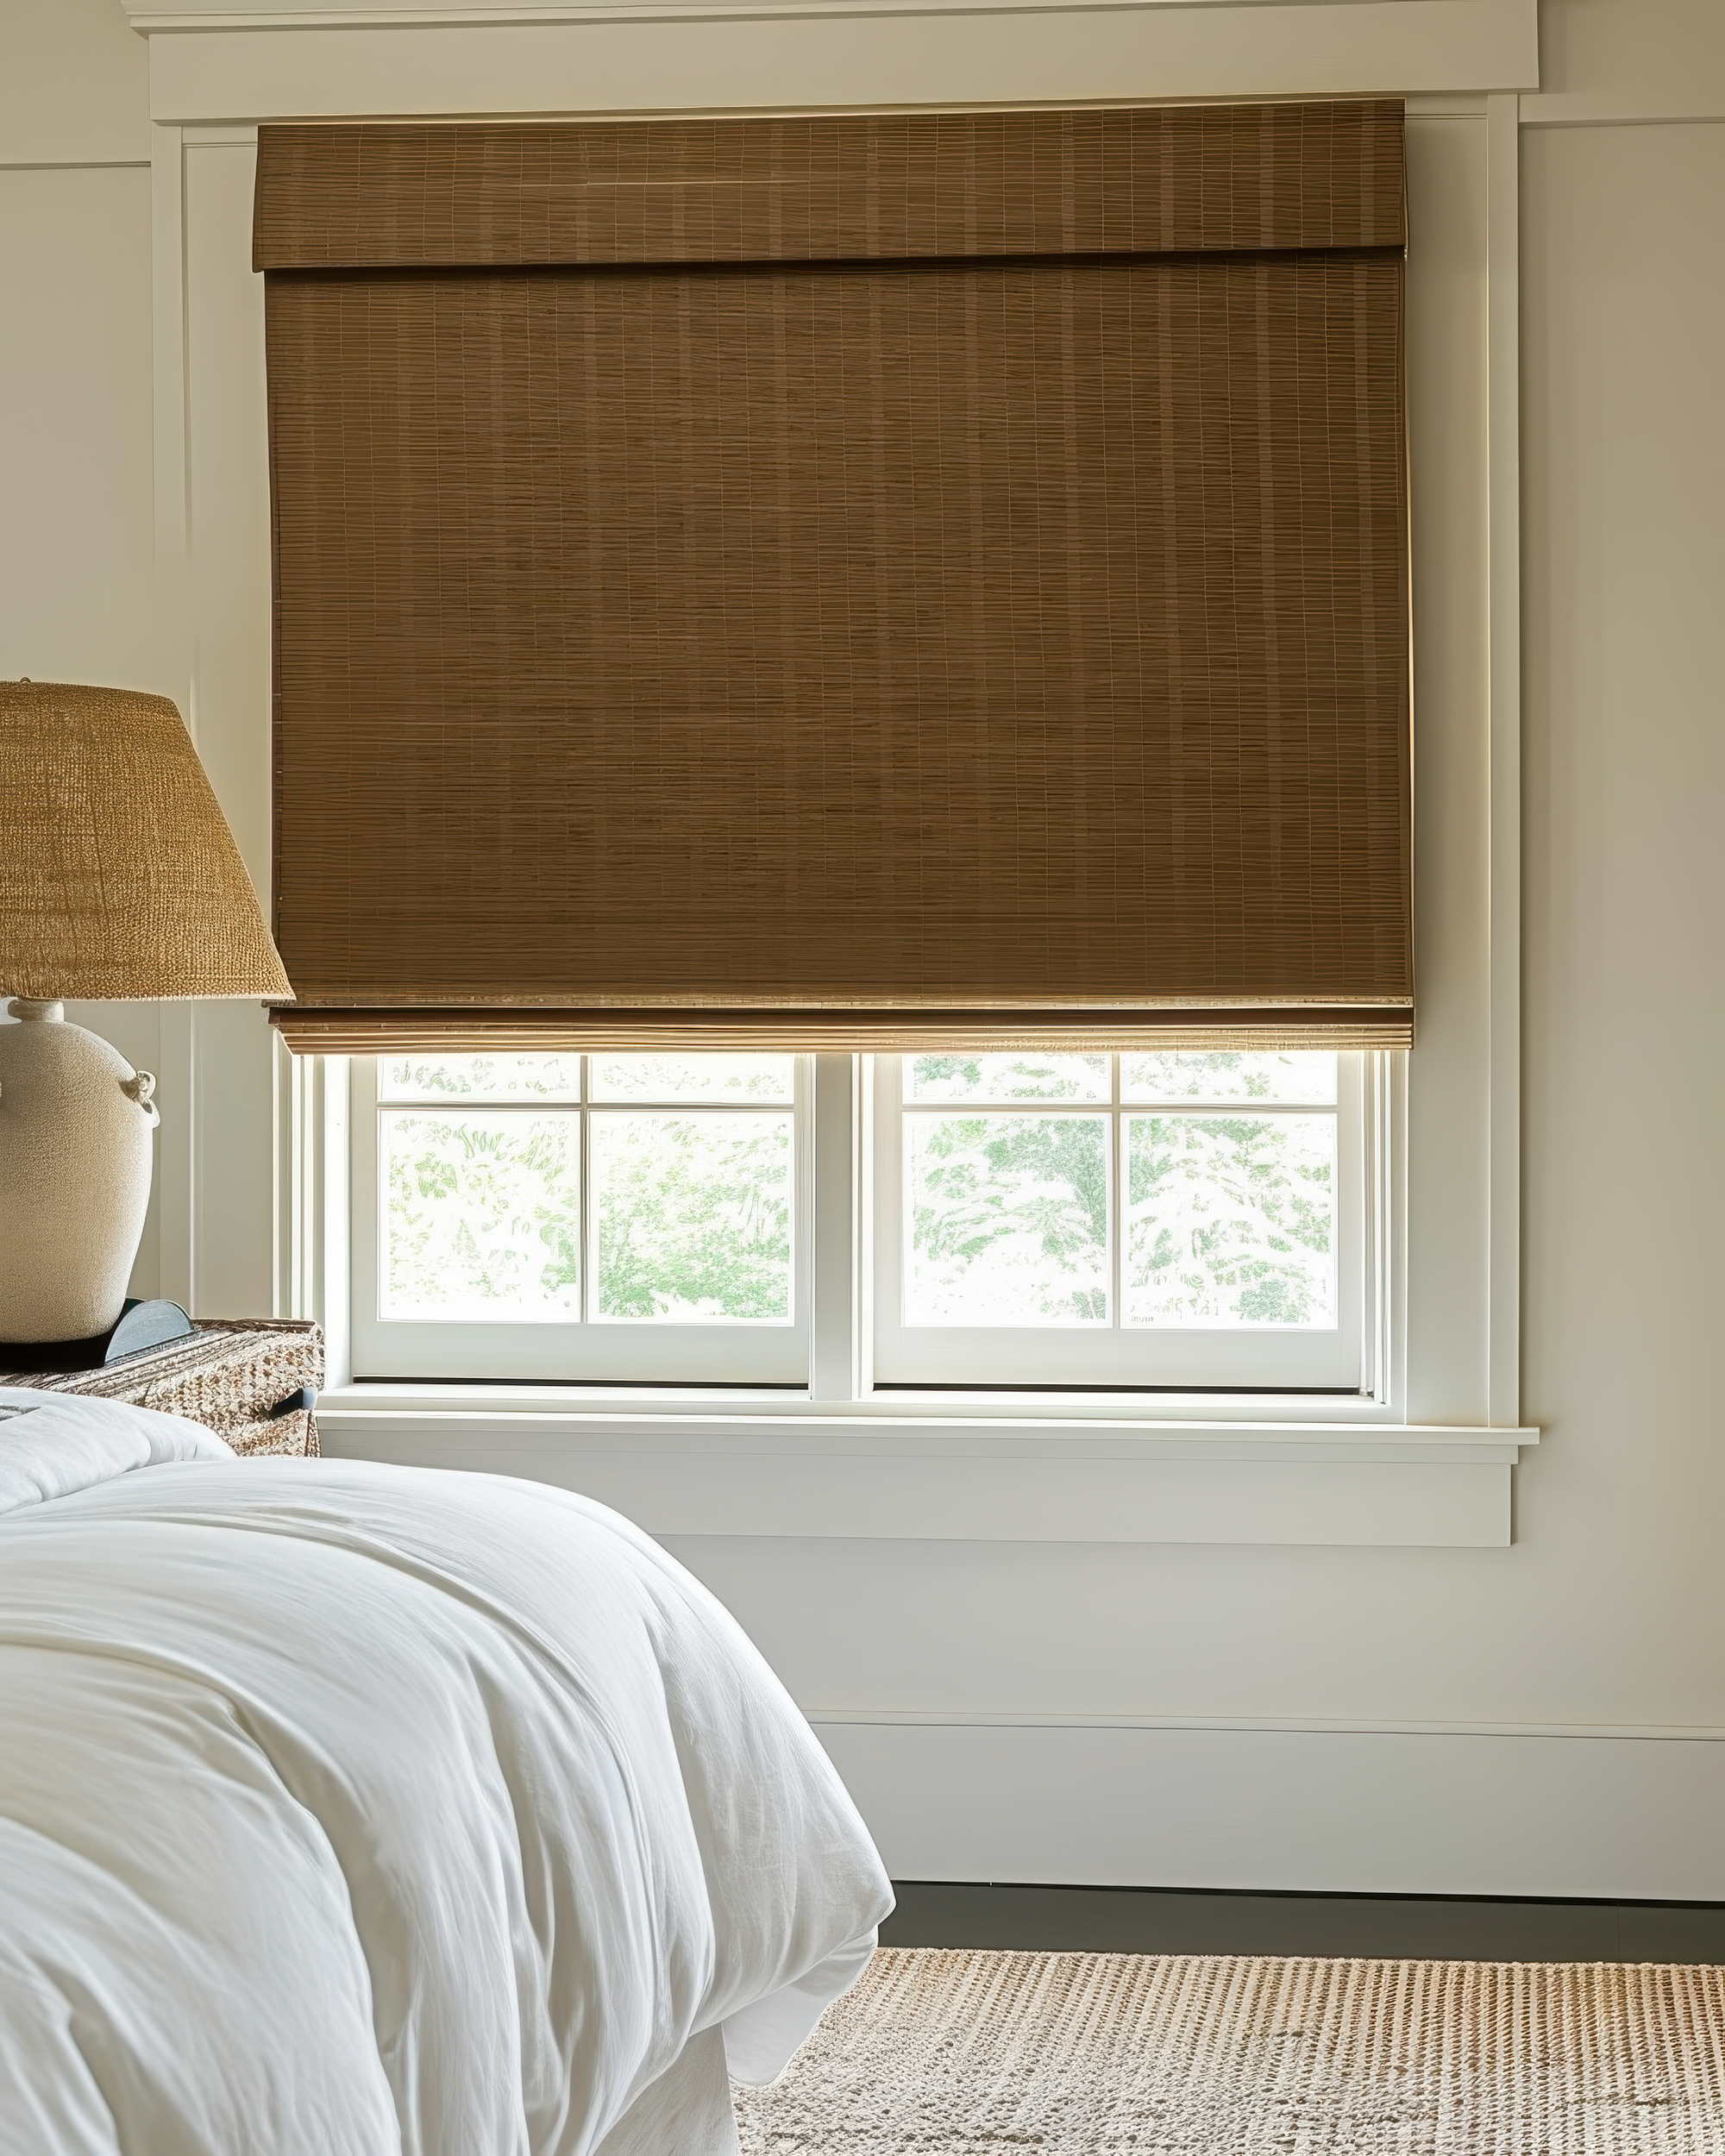
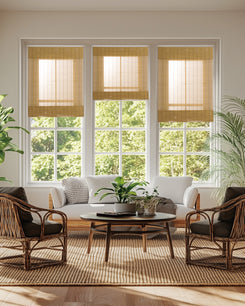
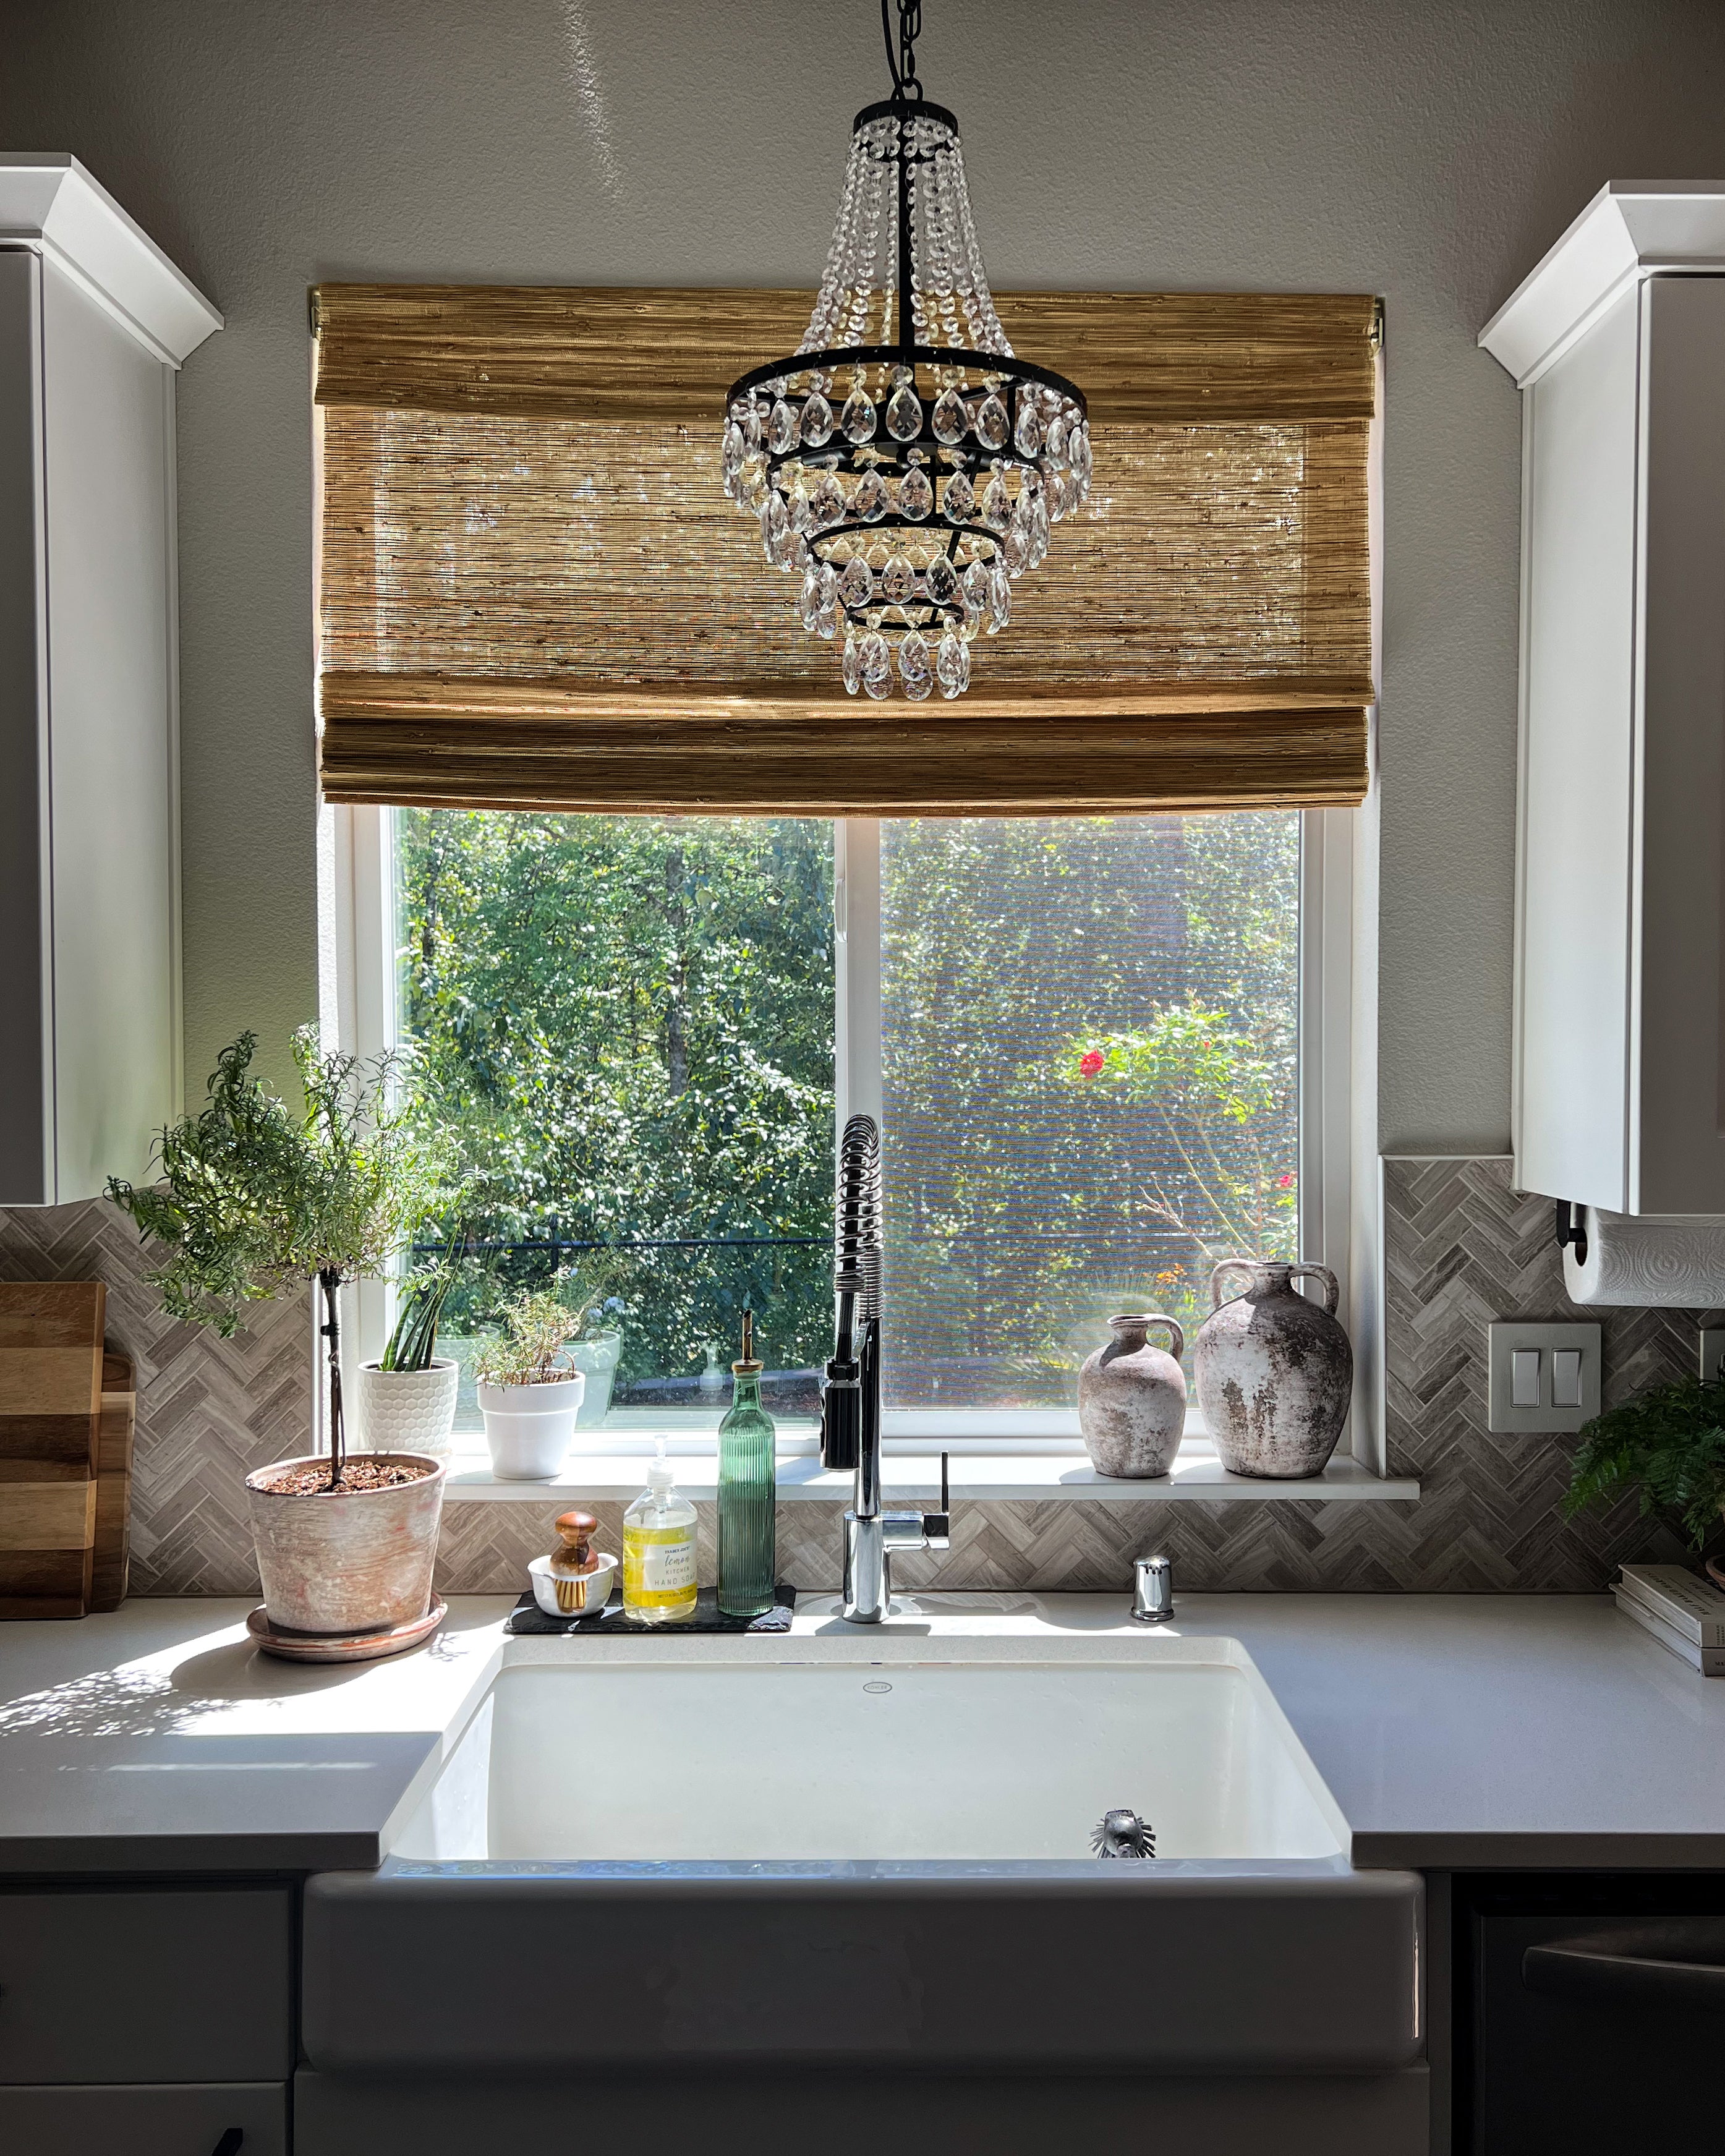
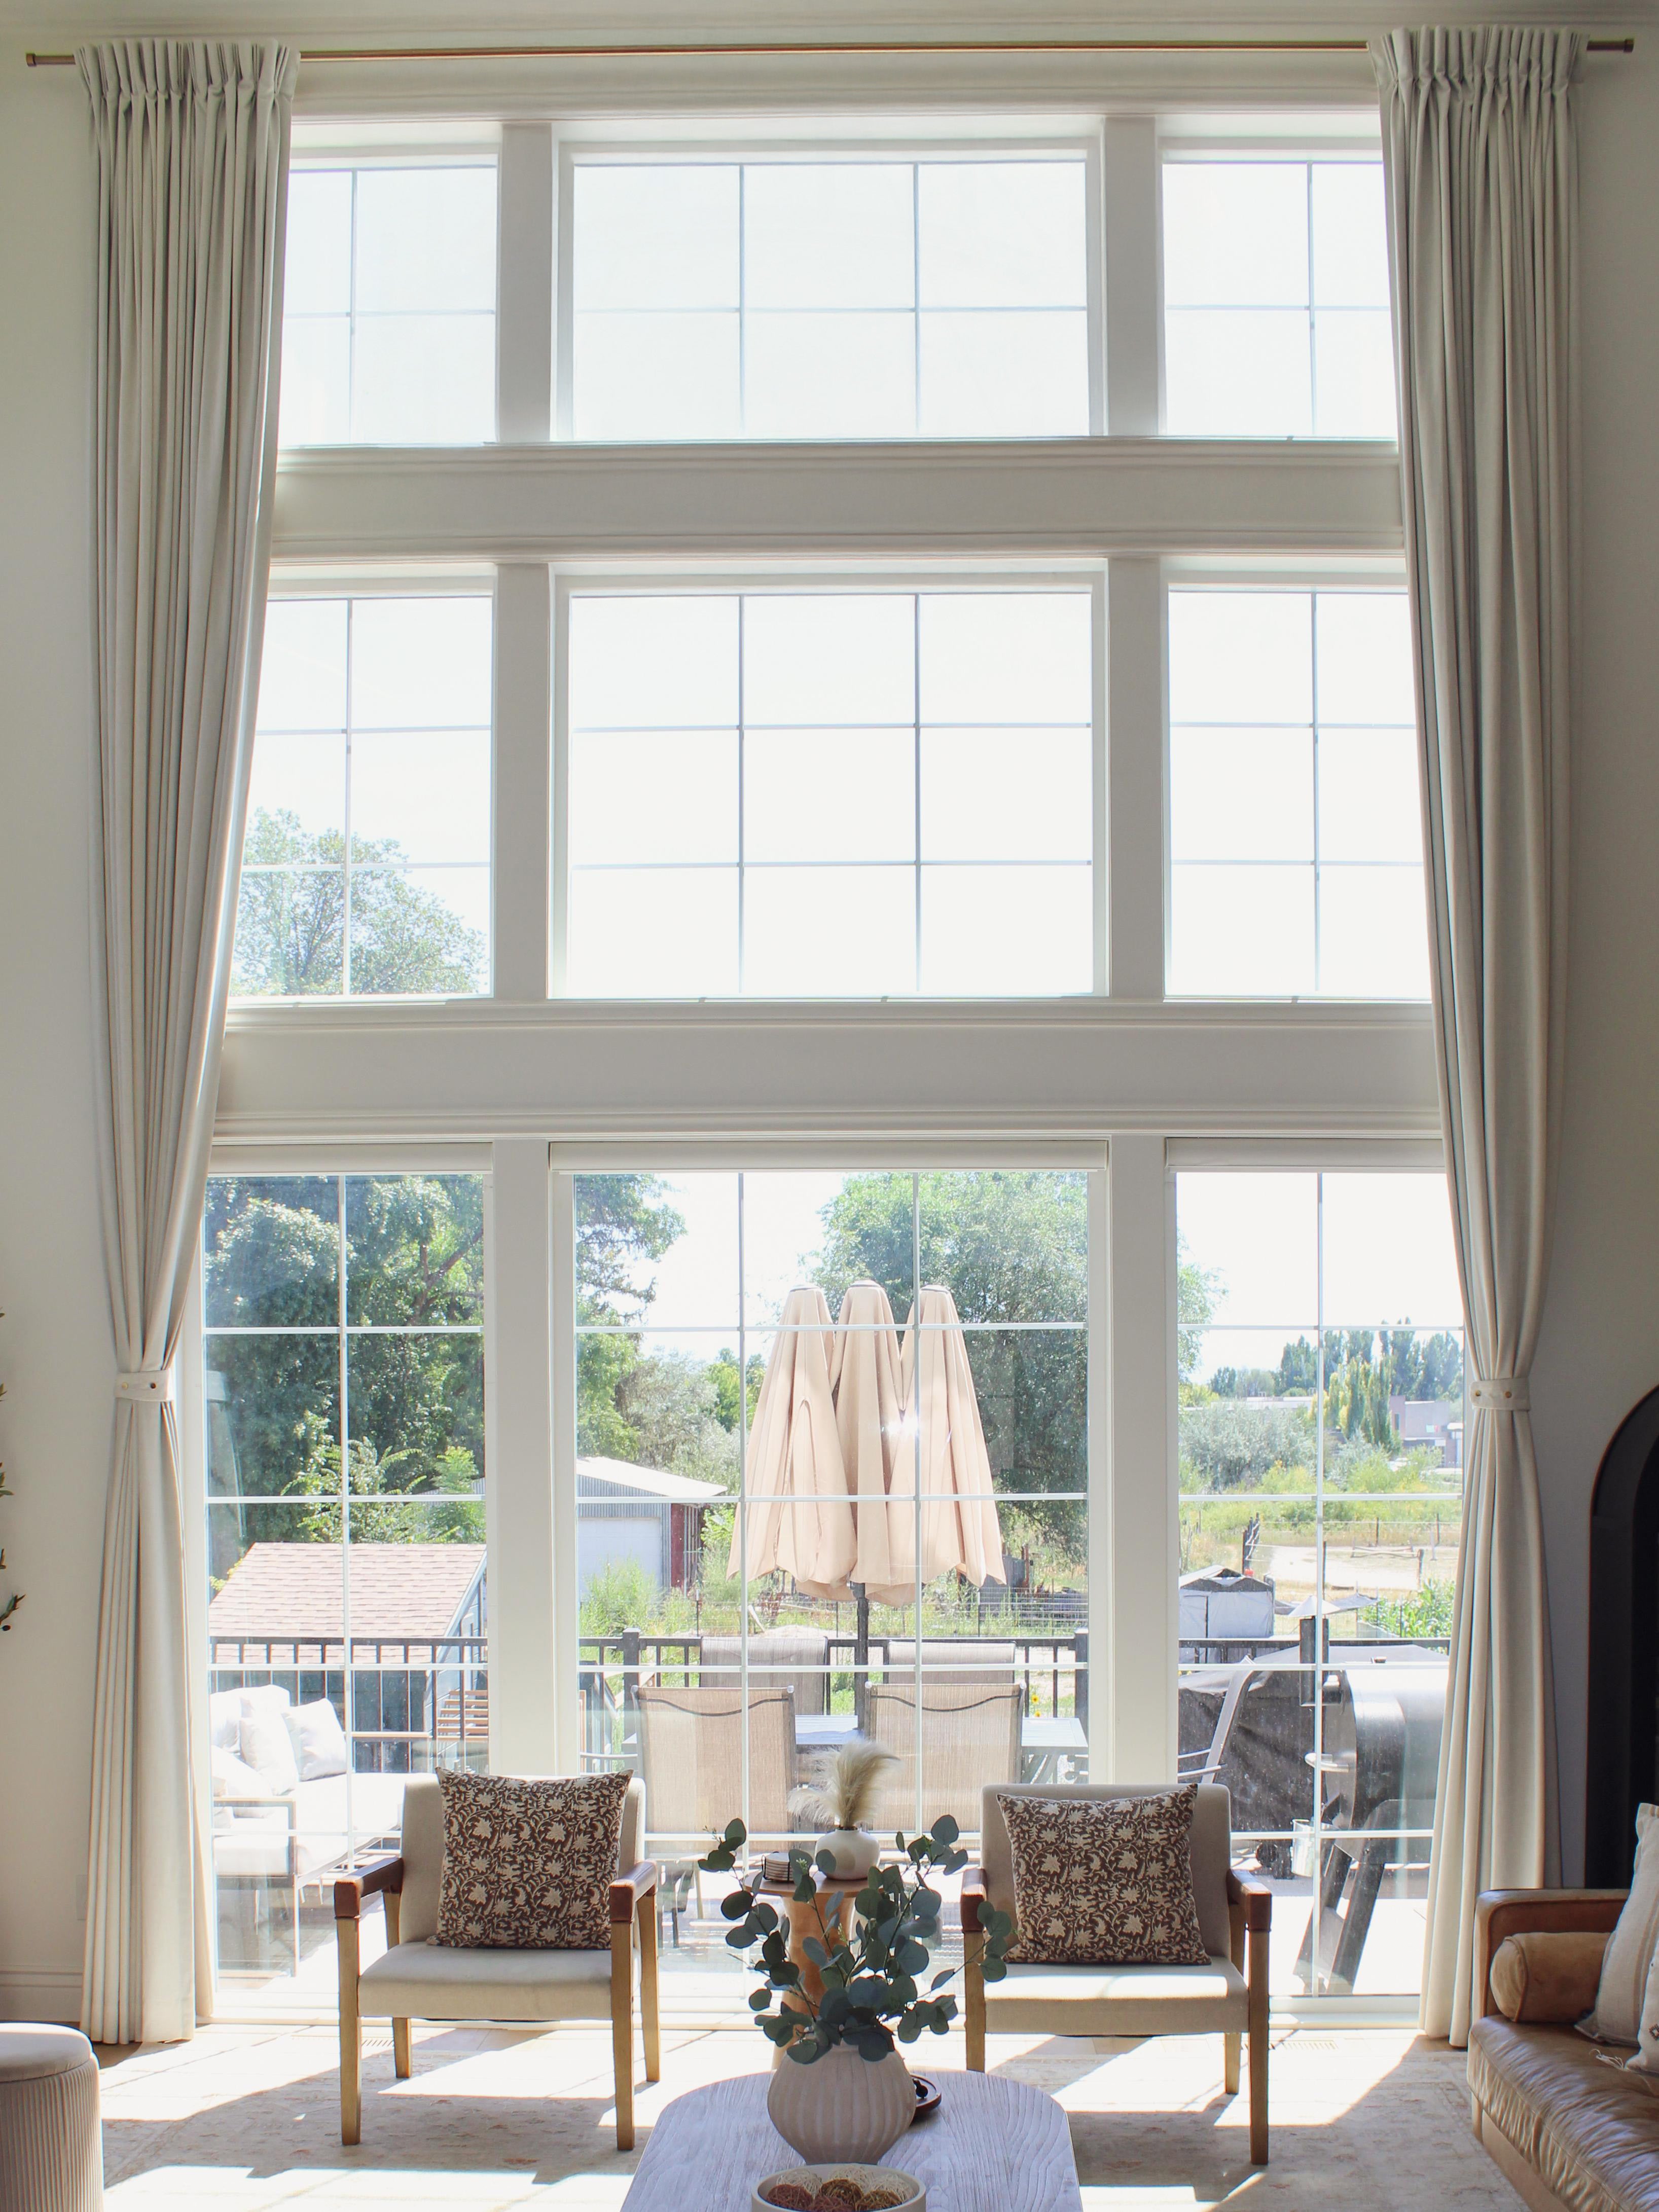
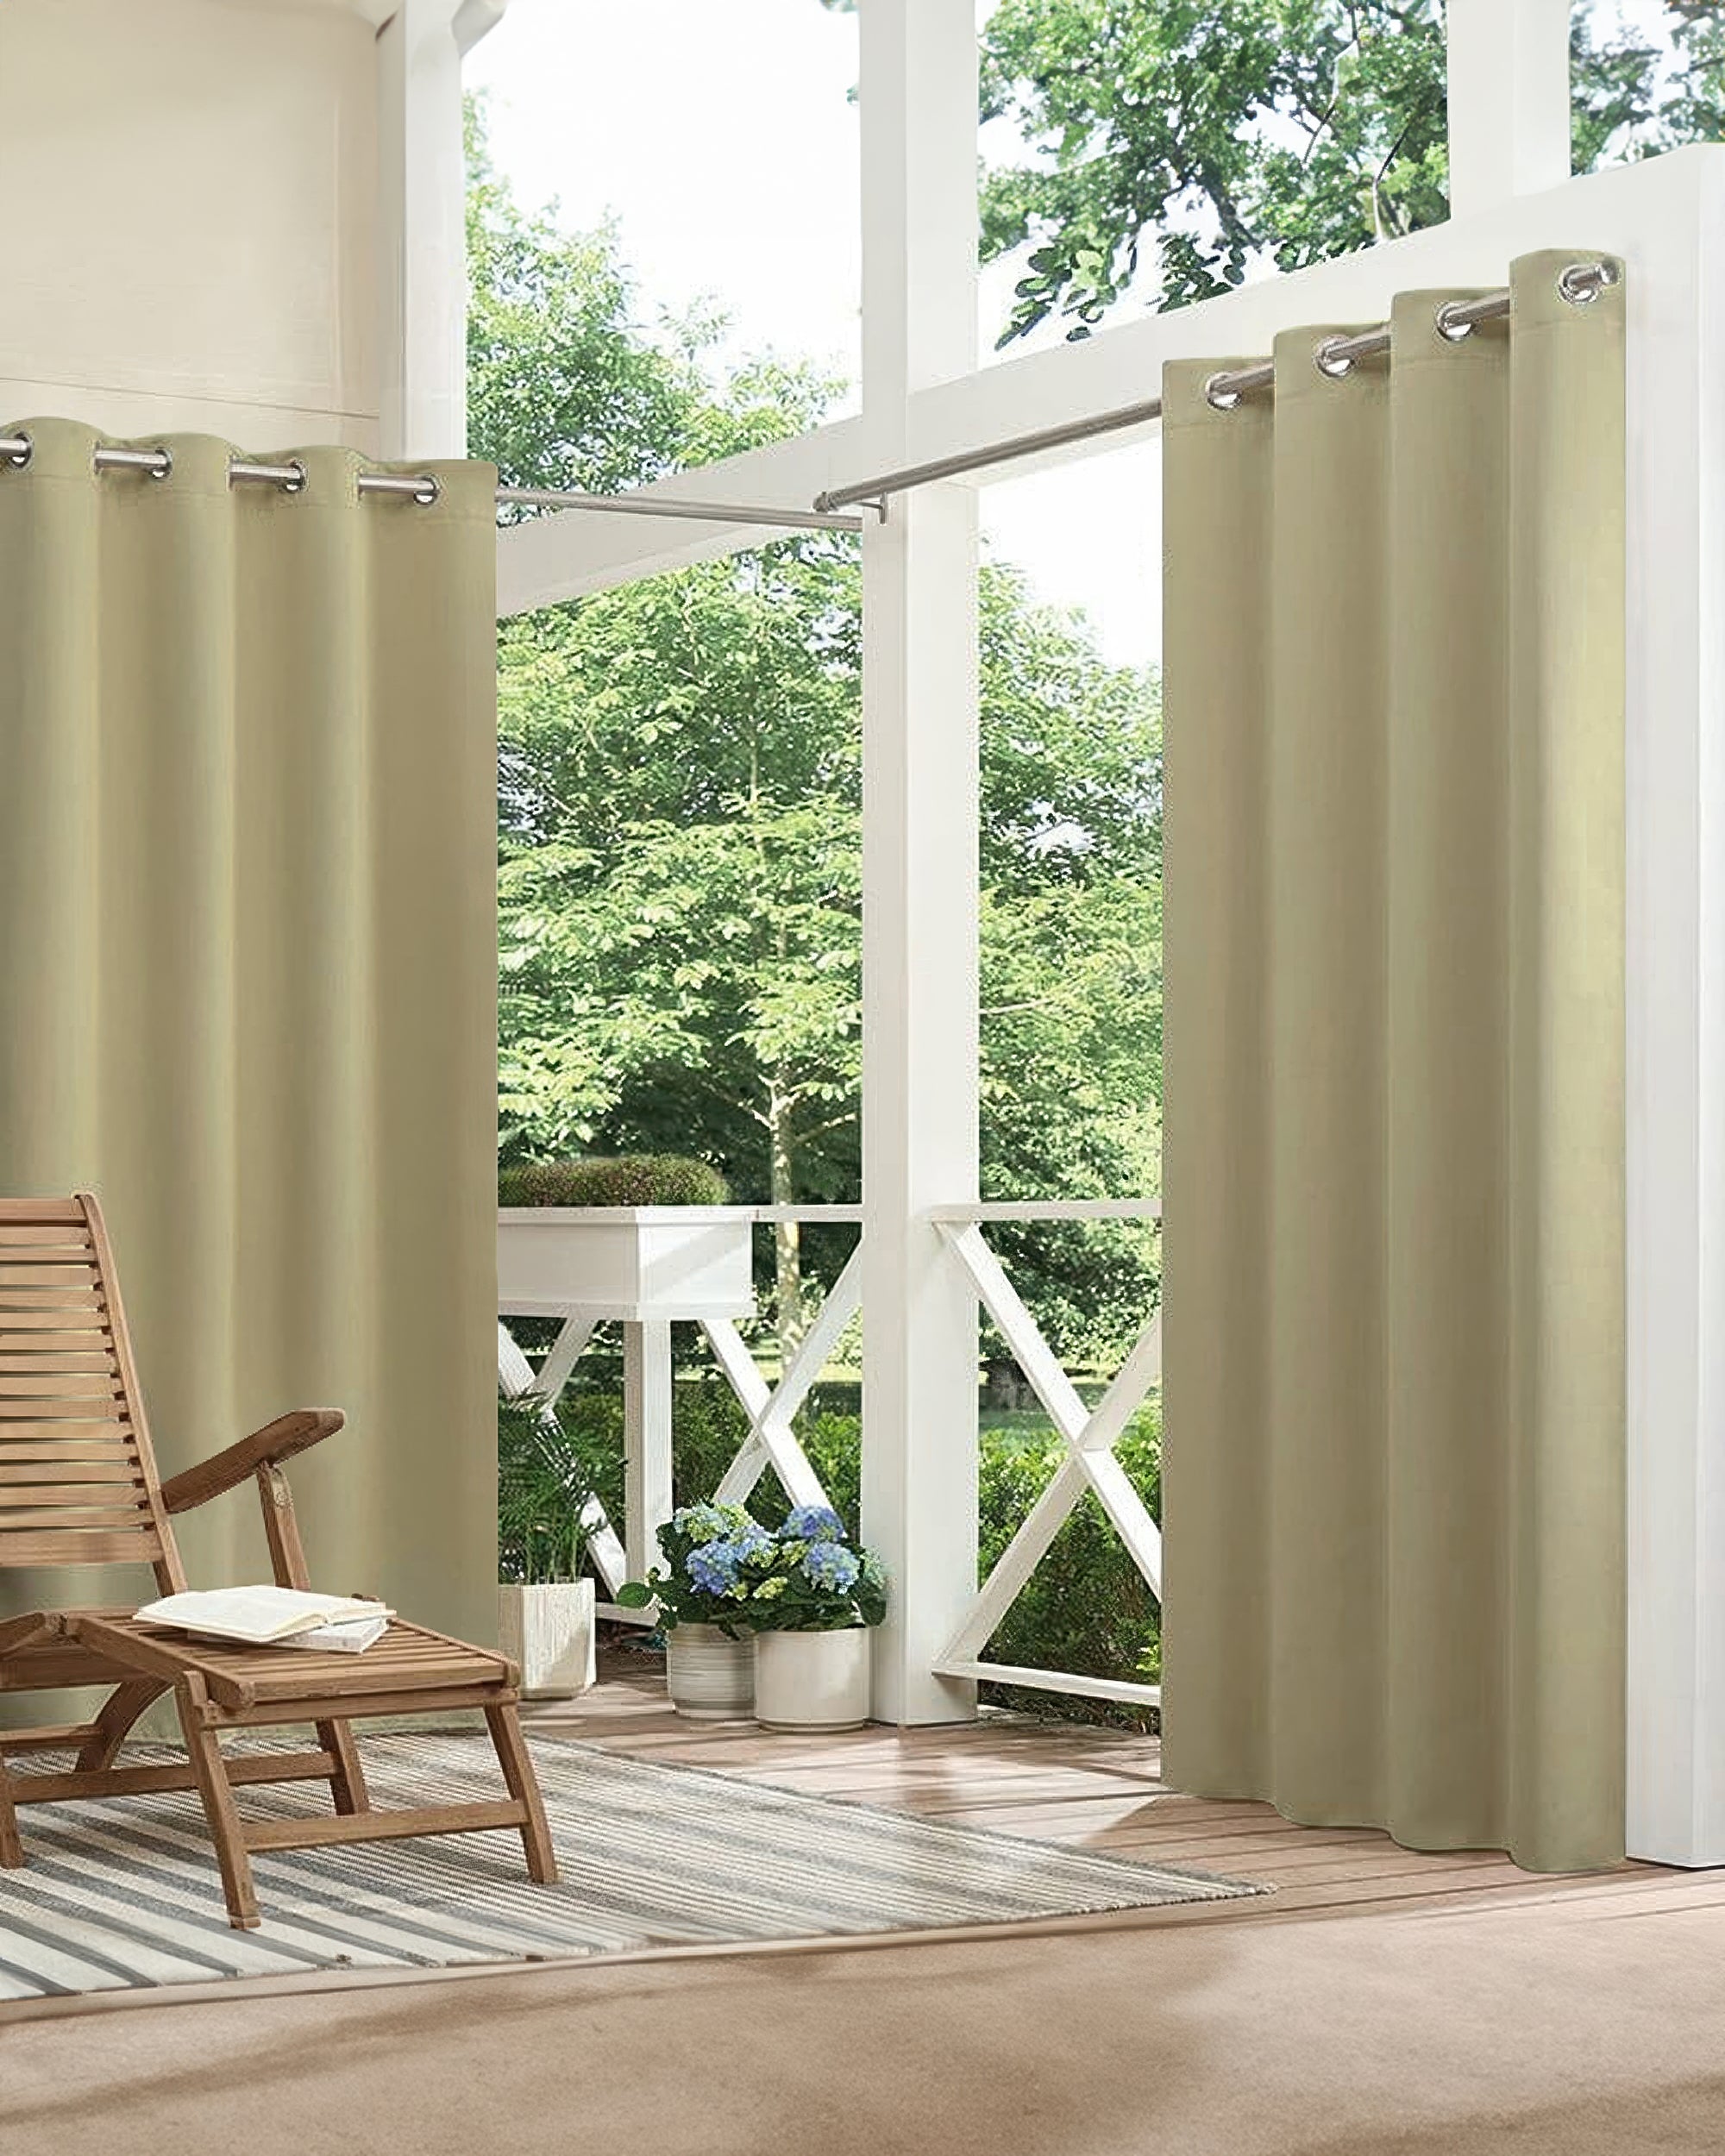
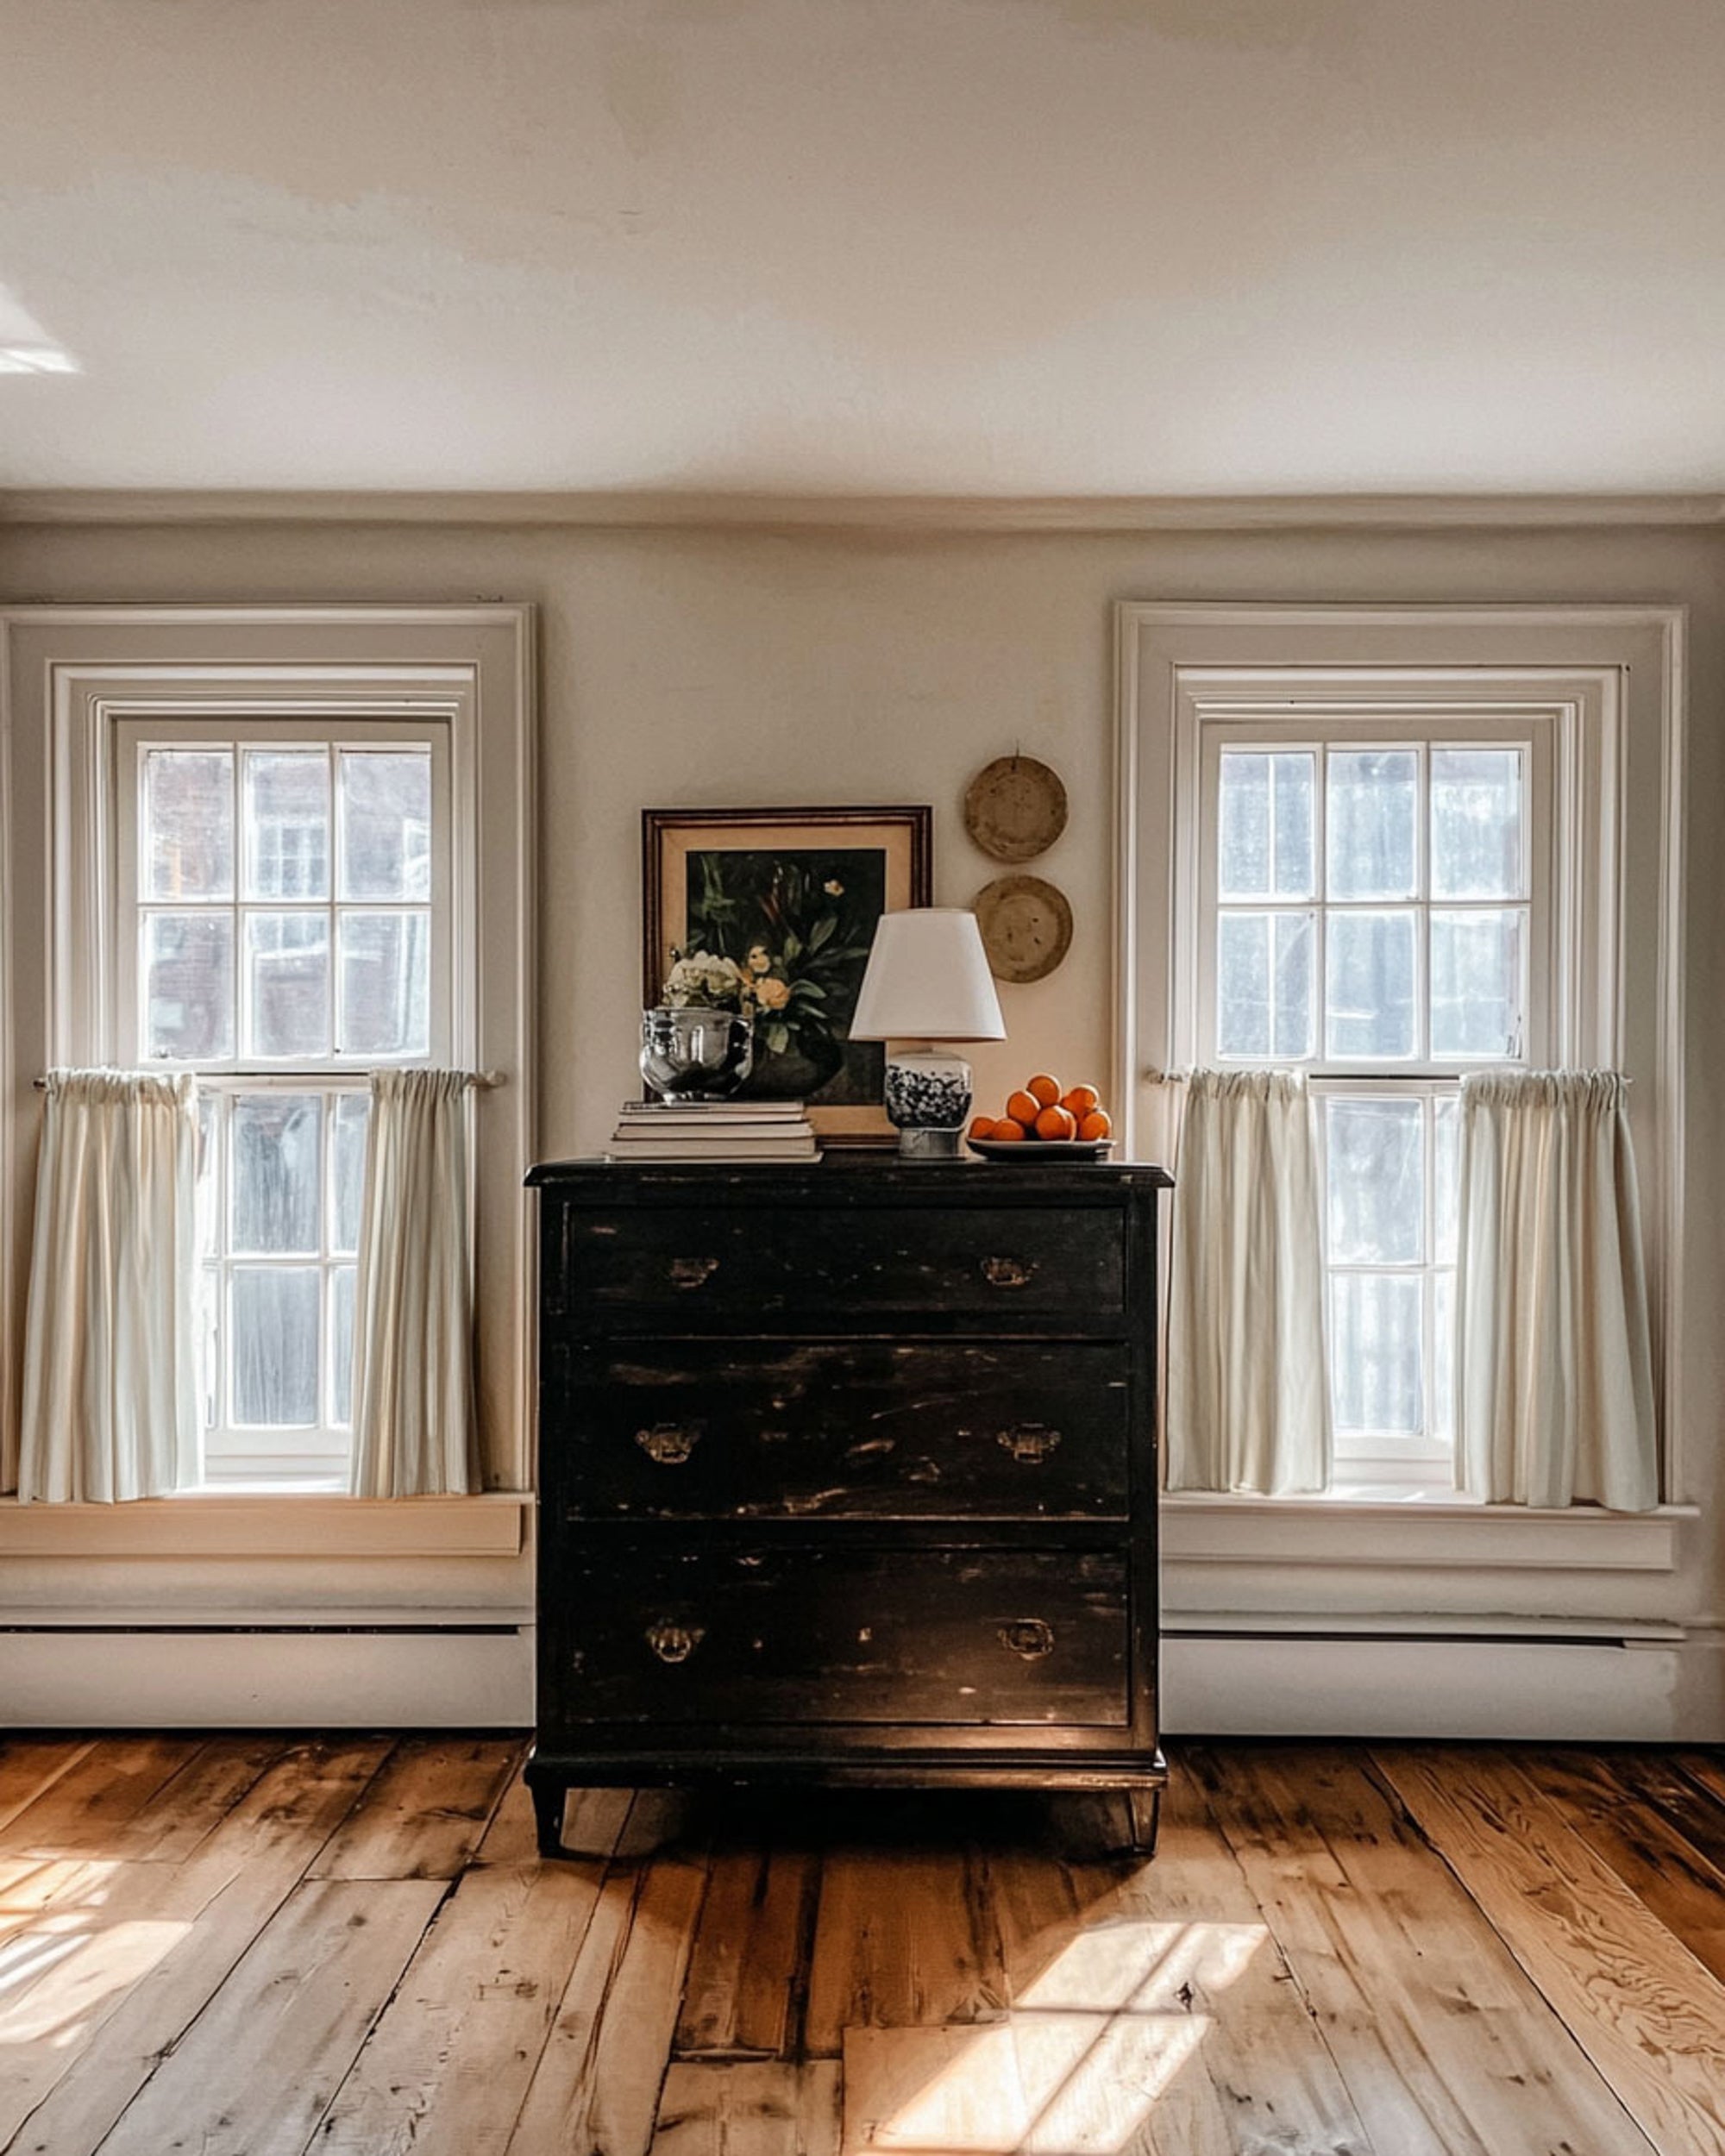
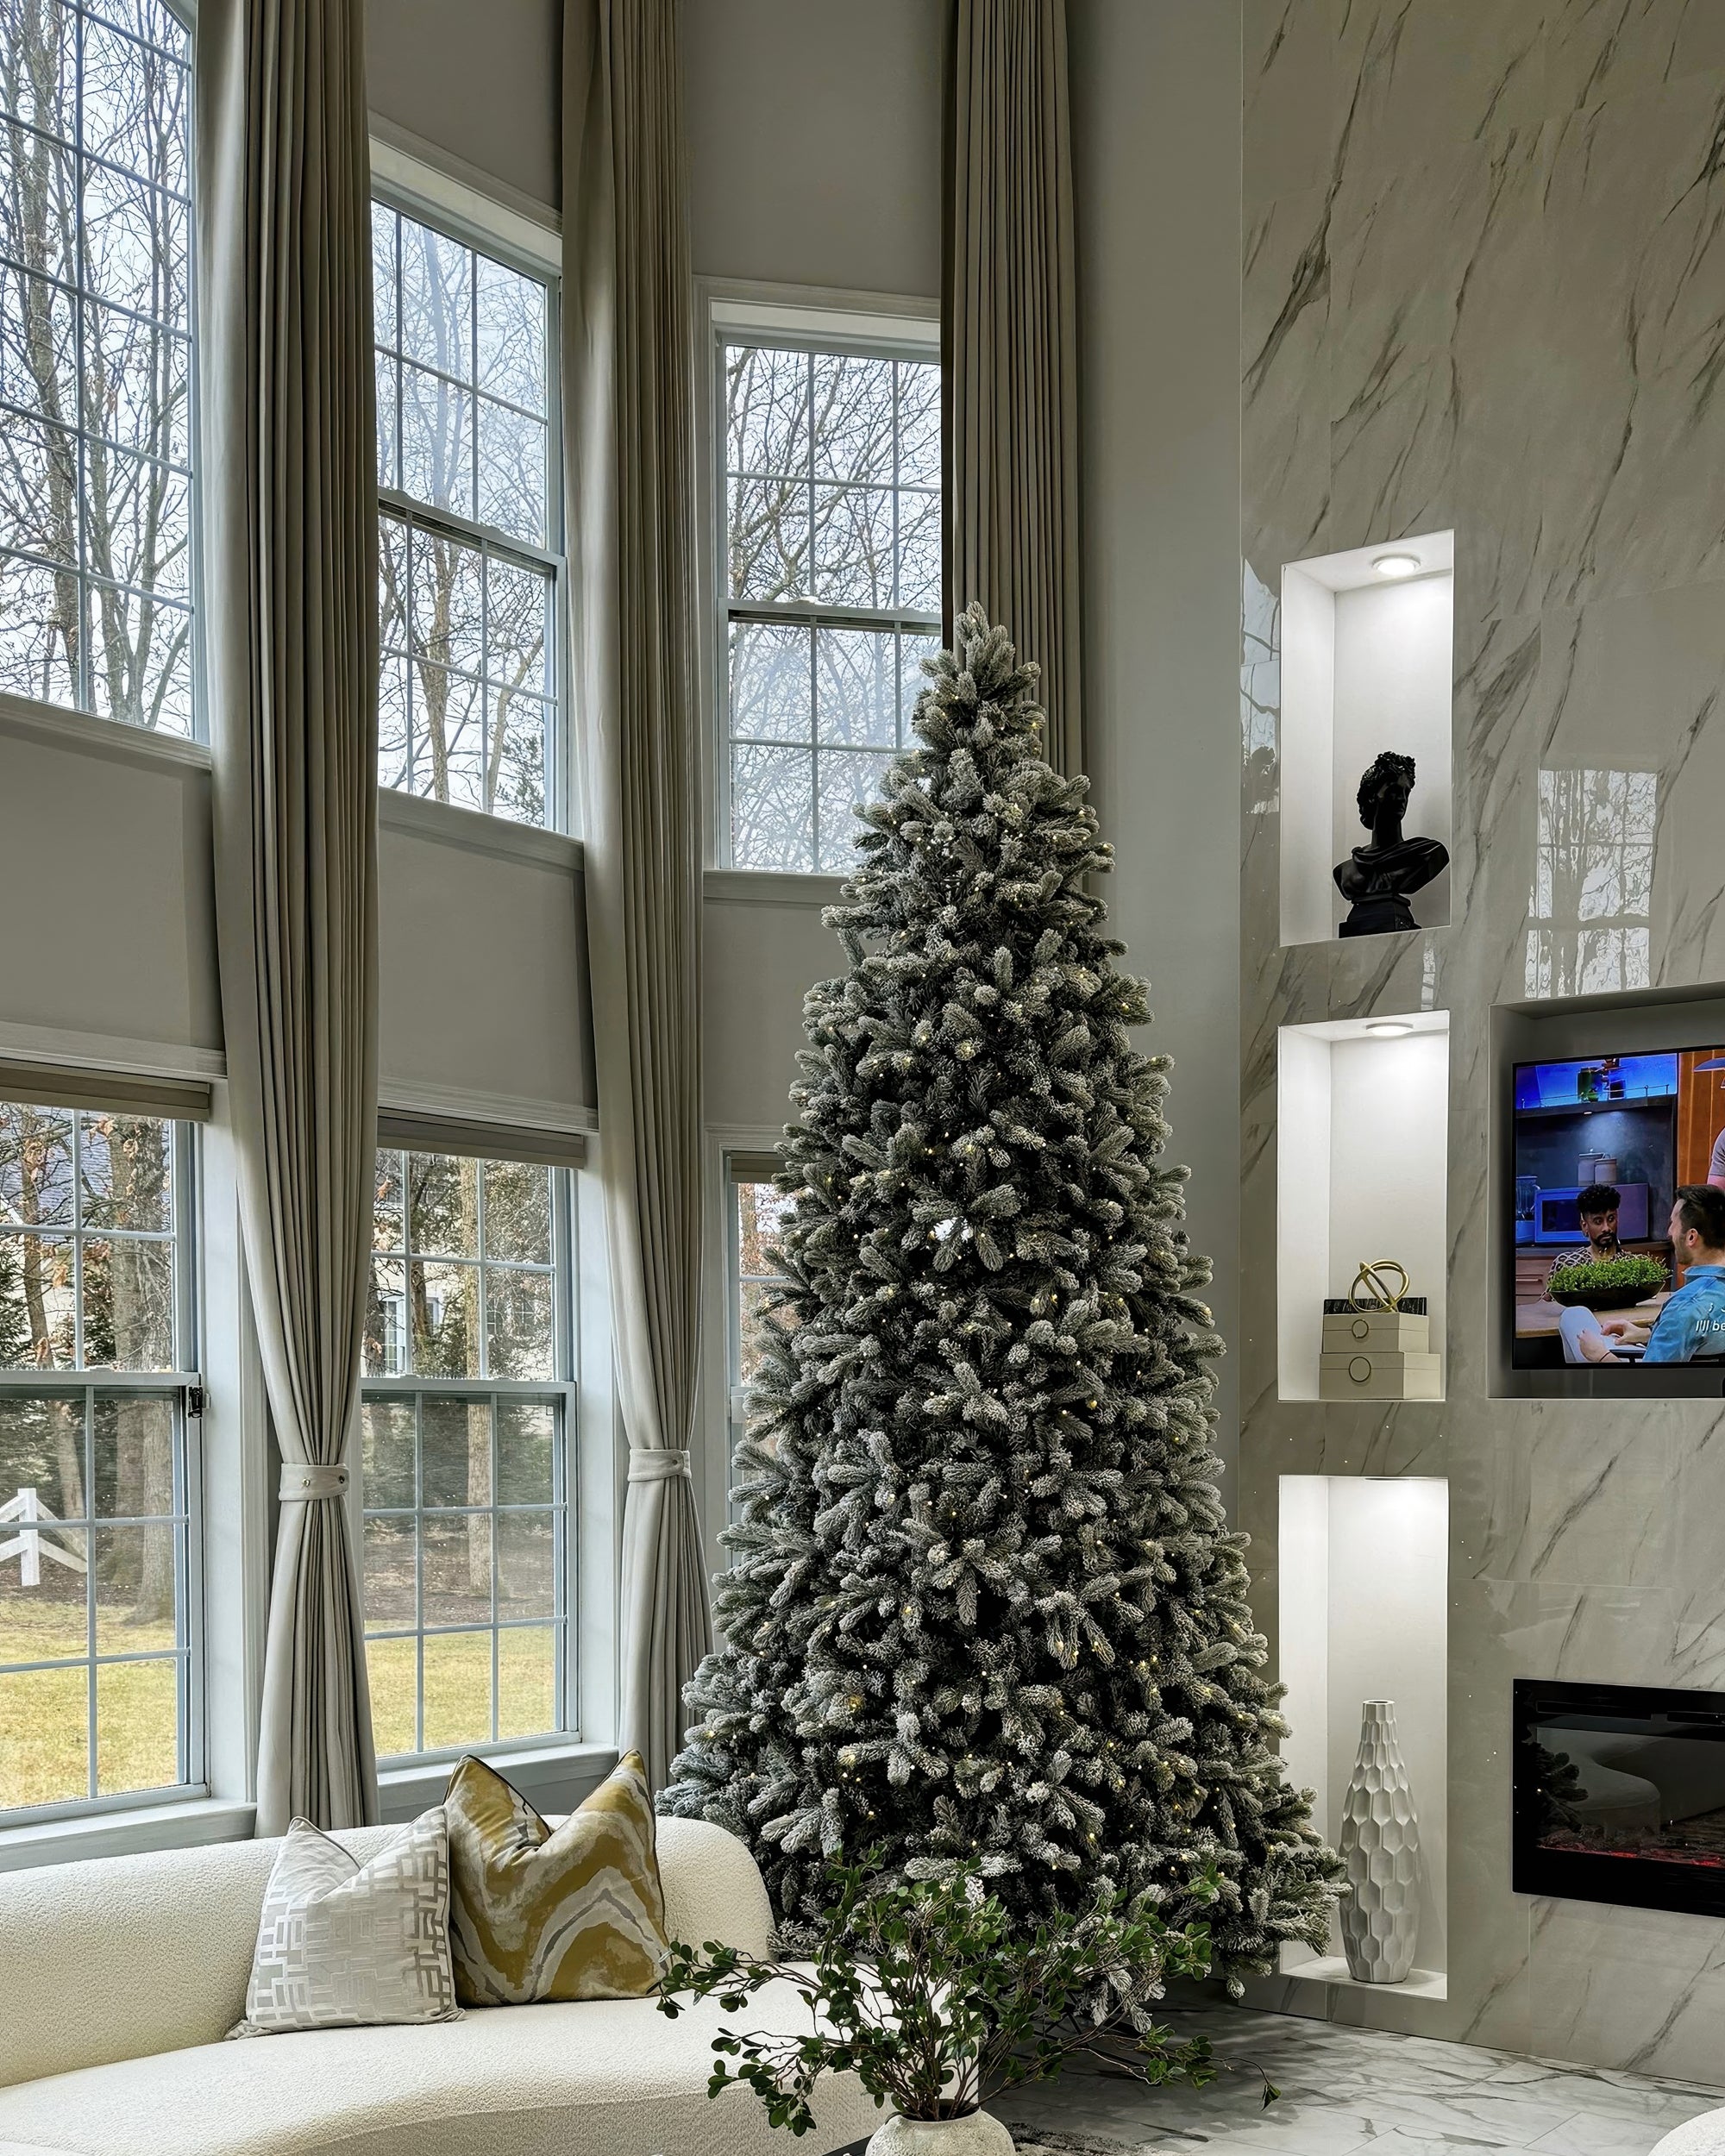
Installing woven shades is one of the fastest ways to upgrade a room's aesthetic. They add texture, warmth, and light control instantly. Whether you are replacing old blinds or finishing a new room, this guide cuts through the noise and shows you exactly how to get them on the wall securely.
With the right tools, this is a 30-minute project.

Before You Begin: What You’ll Need
Don't start until you have these. There is nothing worse than pausing mid-install to run to the hardware store.
- Power Drill (with a 3/32" drill bit and a Phillips driver bit)
- Steel Measuring Tape
- Pencil
- Level (Crucial for woven shades, which show unevenness easily)
- Step Ladder
- Hammer (If using wall anchors)
Check the Box: Your shades should come with mounting brackets and screws.
Note: If you are doing an Outside Mount into drywall (no studs), you must purchase drywall anchors separately. The screws included in the box are usually for wood only.
Step-by-Step: How to Hang Woven Shades
Step 1: Confirm Your Mount Type
Hopefully, you decided this before ordering, but verify your strategy now.
- Inside Mount: The shade hangs inside the window casing. It looks built-in and clean. Requires at least 1-2 inches of window depth.
- Outside Mount: The shade hangs on the wall above the window or on the trim itself. This makes windows look taller and blocks more light.
Step 2: Mark the Bracket Locations
Woven shades typically use two brackets (one near each end). If your shade is wider than 36", you likely have a center support bracket—don't forget it.
The Golden Rule: Avoid the internal mechanisms. Hold the shade up and look at the pulleys and strings in the headrail. Mark your bracket locations so they do not interfere with these moving parts (usually 2-3 inches in from the ends).
For Inside Mount:
Hold the bracket against the top of the inside window frame (the "head jamb"). Mark the screw holes with your pencil. Ensure the front of the bracket is flush with the edge of the frame so the shade doesn't protrude.
For Outside Mount:
Measure 2-3 inches above the window frame (or wherever you measured for the height). Hold the bracket against the wall surface. Use your level to ensure both brackets are perfectly aligned. Mark your holes.
Step 3: Drill and Install Brackets
Stop: If you are doing an Outside Mount into drywall, tap your wall anchors into the marked holes before screwing in the brackets.
- Drill Pilot Holes: Use your 3/32" bit to drill into your pencil marks. This prevents the wood from splitting and makes driving the screw easier.
-
Secure the Brackets:
- Inside Mount: Screw upward into the head jamb.
- Outside Mount: Screw horizontally into the wall or trim.
- Check Stability: Wiggle the brackets. They should be rock solid.
Step 4: Mount the Shade
Most woven shades use a "wing nut" or threaded post system.
- Push the bolts on the brackets through the slots in the shade's headrail.
- While supporting the shade, thread the wing nuts onto the posts.
- Hand-tighten the wing nuts until the shade is secure. Do not use a wrench; hand-tight is sufficient.
Step 5: Attach the Valance (If Applicable)
Woven shades usually have a 6-inch valance piece to hide the hardware. Most attach via velcro or clips provided in the box. attach this now to finish the look.
Step 6: Test & Adjust
Slowly pull the lift cord. The shade should rise evenly. If it pulls to one side, check that your brackets are level. If the shade has a cord lock, ensure it engages when you pull the cord to the side.

Pro Tips for a Flawless Install
- The Level is King: Woven wood has horizontal lines. If your brackets are even 1/4 inch off, the shade will look crooked against the window sill. Trust the level, not your eye.
- Pre-Drill or Regret It: Never try to force a screw into wood without a pilot hole. You risk stripping the screw head or cracking your window trim.
- Child Safety: If you have kids or pets, install the "cord cleat" (the small plastic hook) to the side of the window frame. Wrap the excess cord around it to prevent strangulation hazards. This is a standard US safety requirement.
When to Call a Pro
DIY is great, but know your limits. Call a professional if:
- Concrete or Steel Lintels: If you drill and hit metal or concrete, you need specialized masonry bits and anchors.
- Oversized Windows: Shades over 72 inches wide can be heavy and unwieldy for one person to install safely.
- Motorization: If your shades are hardwired (not battery) motorized, you may need a certified electrician.

Conclusion
You did it. Step back and admire the texture. Woven shades transform the light in a room in a way fabric curtains simply can't. If the install feels solid and the shade moves smoothly, you’ve successfully increased your home’s value and comfort.
Still looking for the right fit? Explore our full collection of woven woods, from blackout-lined bamboo to light-filtering grasses.


