The "Halo Effect": How to Stop Light Leaks Around Your Blackout Curtains


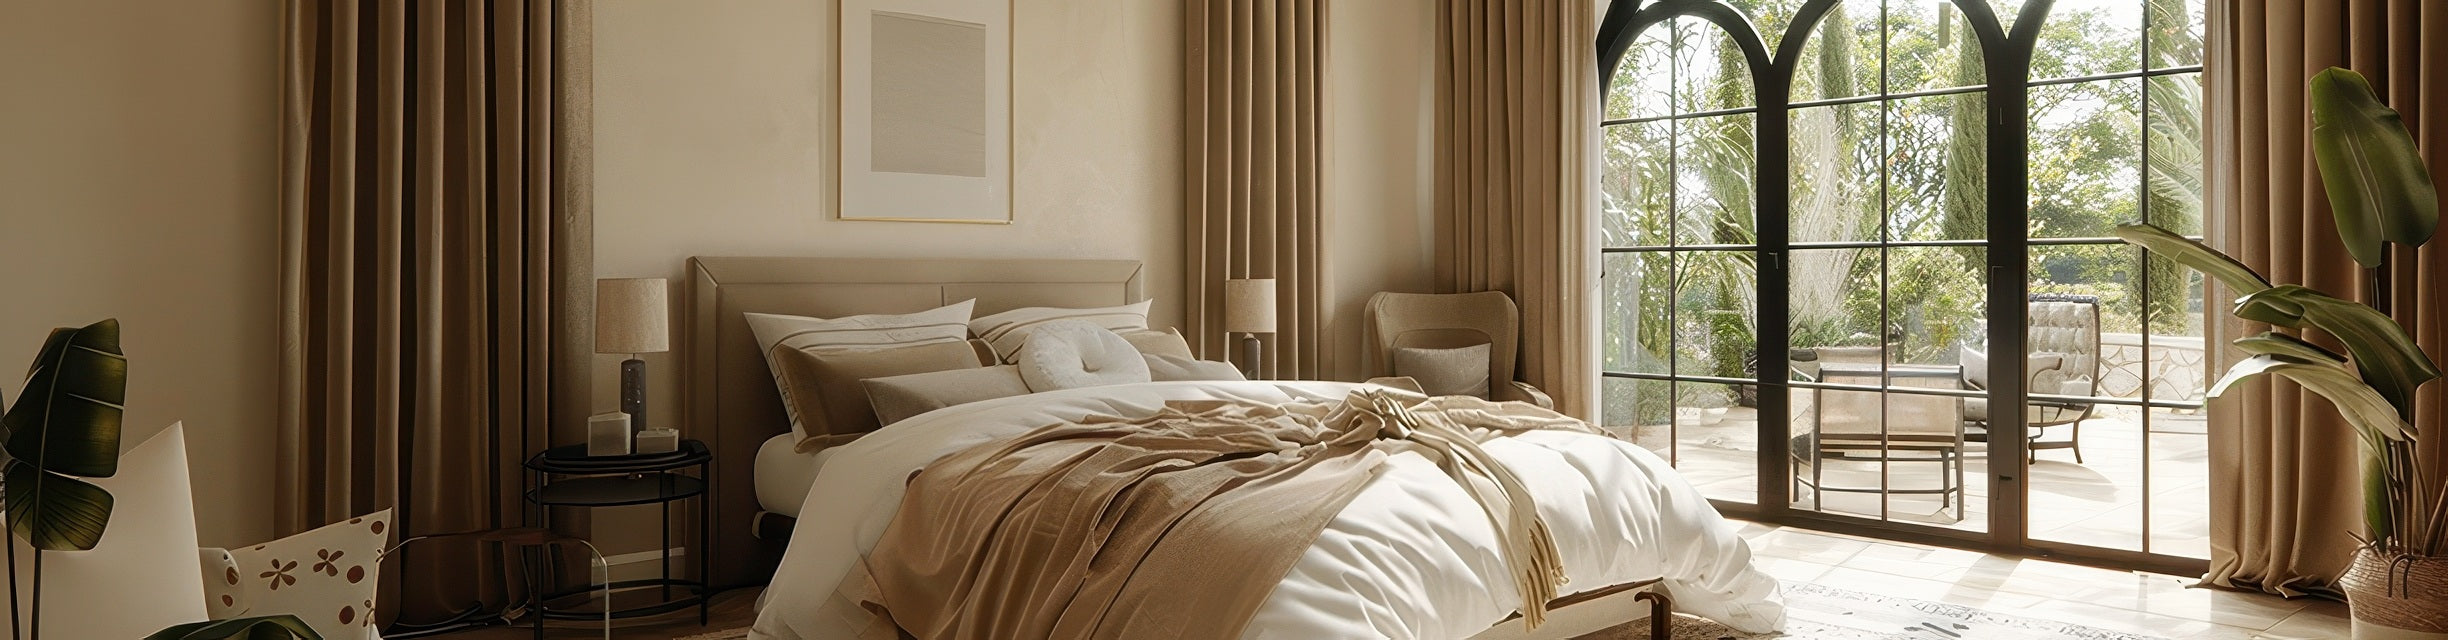
Blackout curtains can make a bedroom, nursery, or media room feel much darker, but the fabric is only part of the result. If morning light still leaks around the edges, the issue is often the gap between the curtain, rod, wall, and window frame.
The good news is that you may not need to replace your curtains. In many rooms, better coverage, a smarter rod setup, or a few simple sealing tricks can improve blackout performance without starting over.
Use this guide to find where the light is coming from and choose the most practical fix for your window.


Why blackout curtains still let light in
Light leaks are usually not a sign that the curtain fabric failed. They often happen because standard rods hold the fabric a few inches away from the wall. That small space lets sunlight reflect off the window, wall, ceiling, or floor and enter the room.
The most common problem areas are:
- Side gaps where the panels do not sit close to the wall
- Center gaps where two panels meet
- Top gaps above the curtain rod
- Bottom gaps near the sill or floor
Before buying anything new, check the room during the brightest part of the day. The direction of the light will usually show you which fix matters most.
1. Fix side gaps with better wall coverage
Side gaps are one of the biggest reasons blackout curtains do not feel dark enough. The best long-term fix is to plan more wall overlap when you measure, especially for bedrooms and rooms used for daytime sleep.
If you are ordering new custom curtains, use the TheHues curtain measurement guide to allow enough width beyond the window frame. A wider setup lets the panels cover the glass more fully when closed.
Temporary fix: removable adhesive and magnetic tape
For renters or anyone who wants a non-permanent option, removable adhesive strips and magnetic tape can help pull the curtain edge closer to the wall.
- Clean the wall or trim where the curtain edge will land.
- Apply a removable adhesive strip to protect the wall finish.
- Attach magnetic tape to the removable strip, not directly to painted drywall.
- Attach the matching magnetic tape to the back edge of the curtain.
- Close the curtains and let the two sides meet.
Safety note: Avoid loose small magnets in homes with young children or pets. Use continuous magnetic tape or securely attached materials, and check them regularly.

2. Use a return to reduce light at the sides
A return is a simple way to bring the curtain fabric back toward the wall at each end of the rod. Some wraparound curtain rods are designed for this. In other cases, the final hook, ring, or pleat can sometimes be positioned closer to the bracket to reduce the side gap.
This works best when the curtains are wide enough and the hardware allows the fabric to sit close to the wall. It can make the window treatment look more finished while reducing side light.

3. Fix the center gap with panel overlap
If you see a bright vertical line where two curtain panels meet, the panels may need more overlap in the center. This is common with lightweight panels, slick linings, or rods that let the panels pull apart easily.
Try this simple adjustment:
- Close both panels fully.
- At the center, overlap the leading edges by a few inches.
- If your hardware uses rings or hooks, position the first ring or hook of each panel so the panels naturally cross slightly.
- Check the overlap from inside the room during daylight.
A small overlap often looks cleaner than clips or pins, which can crimp the fabric or create uneven folds.

4. Reduce the top gap above the rod
Top gaps are common when a rod is mounted too close to the window frame or when the curtain header sits below the rod. Light can bounce off the glass and escape upward into the room.
For a cleaner long-term solution, mount the rod higher when possible. This gives the window a taller look and helps the curtain cover more of the wall above the frame.
For a temporary fix, some people use pre-slit pipe insulation or another soft barrier placed discreetly behind the rod. If you try this, make sure it does not interfere with the curtain movement, damage the wall, or sit near any heat source.

5. Check the bottom gap
Bottom light leaks happen when the curtain is too short, when the floor is highly reflective, or when the window has a bright sill area below the panel.
For new curtains, choose a length that fits the room and the way you want the panels to operate. Floor-length curtains usually give better light control than curtains that stop above the sill. For a more dramatic look, a slight break or puddle may help, but it can also collect dust and make cleaning harder.
If you need a quick temporary fix, a rolled dark towel or fabric draft stopper placed behind the curtain can reduce light near the sill or floor. Keep it neat, dry, and away from vents or heaters.
Blackout curtain gap checklist
| Light leak area | Most likely cause | First fix to try |
|---|---|---|
| Side edges | Panels do not overlap the wall enough | Use wider coverage, returns, or removable side sealing |
| Center seam | Two panels separate when closed | Create a slight center overlap |
| Top of window | Rod is too low or fabric sits too far from wall | Raise the rod or add a discreet top barrier |
| Bottom edge | Curtain is too short or light reflects from the sill/floor | Use the right length or add a temporary fabric barrier |
FAQ: fixing blackout curtain gaps
Do I need new blackout curtains if light leaks around the edges?
Not always. If the fabric blocks light well but the room still feels bright, the problem is probably installation. Check rod width, rod height, side overlap, and center overlap before replacing the panels.
Are wraparound rods better for blackout curtains?
Wraparound rods can help because they bring the curtain closer to the wall at the sides. They are especially useful for bedrooms, nurseries, and rooms where daylight sleep is important.
Can I use tape or magnets on curtains?
You can, but use them carefully. Removable adhesive and magnetic tape can be useful for temporary setups, but avoid loose small magnets around children and pets, and test adhesives in an inconspicuous area first.
What is the best way to prevent gaps when ordering new curtains?
Start with accurate measurements. For new blackout curtains, plan enough width, height, and wall overlap before ordering. You can also review header options in the TheHues curtain header guide.
Final takeaway
Blackout performance depends on more than fabric. The darkest rooms usually come from the right combination of blackout lining, proper curtain width, smart rod placement, and reduced gaps around the window.
If you are planning a new setup, start with the measurement guide, compare blackout curtain options, and use the TheHues free design service if your window shape is tricky.


